Do you have a sewing machine that you want to know how to use? Or maybe you want to buy one but have no idea how to even use sewing machines. You may want to learn how to use sewing machines so you can have a new useful skill.
Once you know the basics of how to use a sewing machine, you can start to do basic projects like hemming and repairing clothes or other fabric items. After you have some practice using a sewing machine, you can start to make home decor, clothing or crafts.
How do you set up and thread your sewing machine so you can sew? There is also a difference between mechanical and computerized sewing machines. What are the different features of a sewing machine? What are the different settings on the sewing machine, and what are they used for?
I will cover these topics in the article so you can get started using your sewing machine quickly.
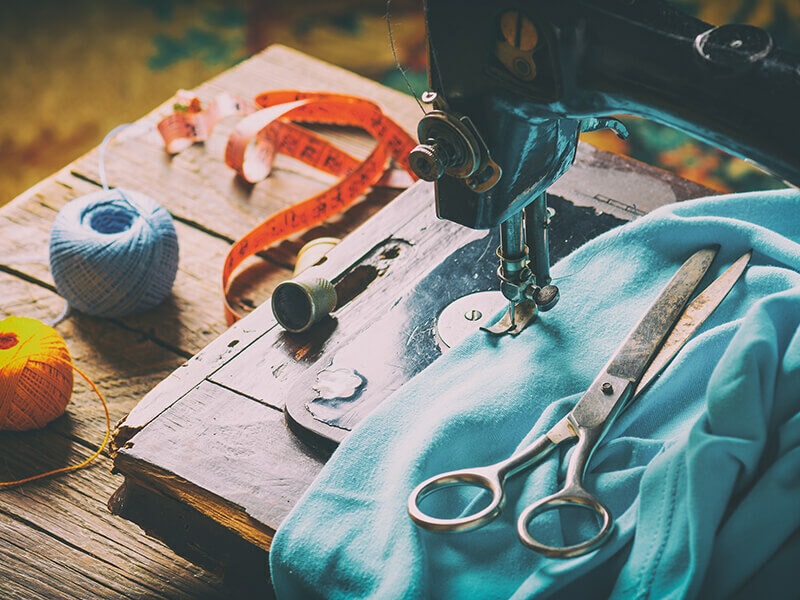
How To Use Sewing Machines?
While there are many different types of sewing machines on the market, they all have the same basic functions, threading, and parts. Your sewing machine manual will have detailed instructions for your specific model, but this is generally how to set up a sewing machine.
- You need a spool of thread, and from that, you make a bobbin. A bobbin is basically a small spool of thread that goes in the bottom of the sewing machine underneath the needle. So first you wind a bobbin on your machine.
- Cut the thread, insert the bobbin in either the bobbin case if it is a front loading bobbin or a drop-in bobbin goes right under the needle.
- Thread the main body of the machine.
- Use the handwheel to lower the sewing needle down into the bobbin area, catching the bobbin thread. The two threads catching each other is what makes a stitch.
- To make a threaded sewing machine sew, you turn the machine on and use the foot pedal slowly and firmly to sew forward.
What Materials Do I Need Before I Can Use A Sewing Machine?
Before you begin to use your sewing machine for the first time, you need good quality thread and some scrap fabric to test your stitches.
Very cheap thread often is not as smooth and has small fibres sticking out of it. These fibres then can snag and catch on things and break, causing a frustrating sewing experience. Buy better thread such as Gutermann or Coats & Clark.
For your scrap fabric, you just want some to test that the stitches are the right length and tension before sewing your project. You may also need to practice sewing straight if you are brand new to sewing. For best results, use fabric that is similar in weight and amount of stretch to what you plan to sew for your project.
Keep a small pair of scissors handy (such as thread snips or other small scissors) to cut your threads after you sew.
Setting Up Your Sewing Machine
If your sewing machine is brand new, or has been in storage for a long time, you may have to attach the power cord. The power cord has two cables, one to plug into an electrical socket, and the other has the foot pedal.
Where the cords are attached, you have the plug that goes into the sewing machine. It usually plugs in on the right hand side near the bottom. Attach the cord here, then plug the machine into your electrical outlet. Place the foot pedal on the floor near your right foot.
Detailed Instructions For How To Wind A Bobbin
Take a spool of thread and put it on the thread holder. Depending on your sewing machine model, this may be upright on the top right hand side of the sewing machine or it may lay horizontal across the front at the top. Bring the thread through the bobbin winding tension disc.
Find the bobbin spool that comes with your machine. Bobbins may be plastic or metal – use what came with your machine, don’t try and use the wrong type of bobbin in your machine or it will create problems.
Take the end of the thread after it has gone through the bobbin winding tension disc and from the inside of the bobbin, put it through the hole in the bobbin so the end sticks out the top.
Wrap the thread around the bobbin a few times by hand so it doesn’t slip out. Then place it on the bobbin winder.
Turn on your machine. Move your bobbin winder into position for winding – on most machines this means just sliding it to the right. On old machines, there may be a wheel inside the hand crank wheel to turn towards you to disengage stitching and make the machine wind the bobbin instead of sew.
Once your bobbin winder is in position and the sewing machine is switched on, press gently but firmly on the foot pedal to make it wind. Stop winding when the bobbin is full, the machine may stop automatically when it is full.
Cut the thread and remove the bobbin from the bobbin winder. Put the bobbin winder back in its original position, otherwise the machine will stay in bobbin winding mode.
Leave the main spool of thread where it is, and take the thread out of the bobbin winding tension disc.
You have completed winding your bobbin.
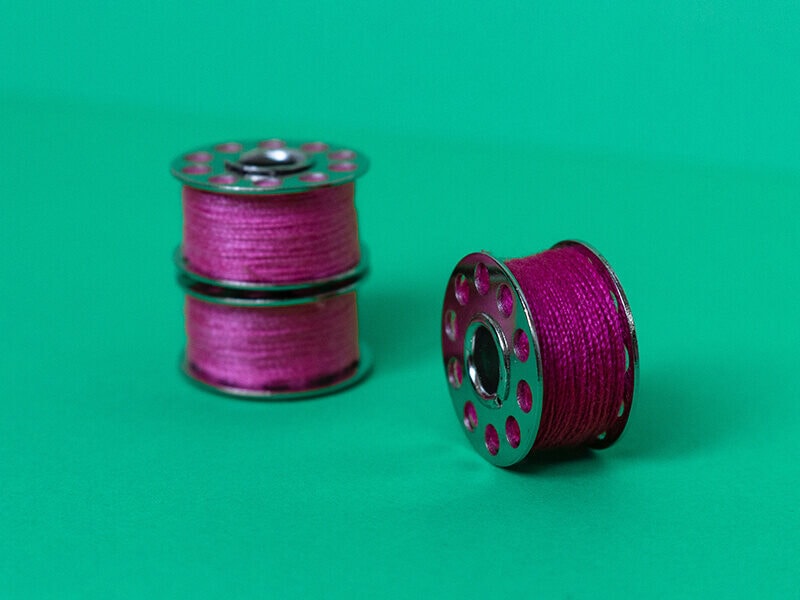
Your bobbin is now ready to put in your sewing machine. Depending on the type of bobbin you have, it may have a case or it may just drop in the top.
If you have a drop-in bobbin, slide open the plate under the sewing needle. Hold your bobbin in the right orientation – the thread should come down and make a “P”. Place it in the bobbin holder, putting it through the thread guides.
If you have a bobbin case, put it in the case and put the case in the machine until it clicks.
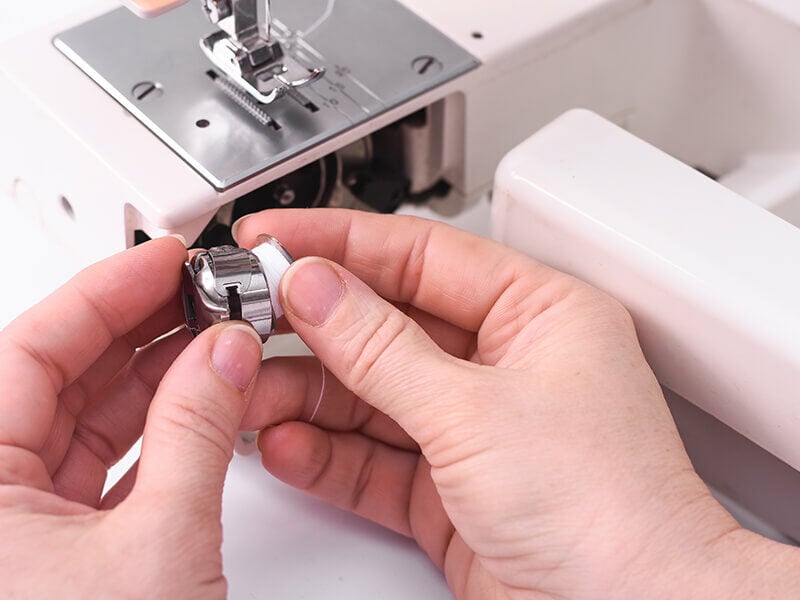
When you go to sew, if your thread bunches up underneath, it is likely upside down. Flip the bobbin in the other direction and make sure it is in securely and through all the thread guides in the bobbin case or holder.
Threading The Machine
Once your bobbin is in place, it is time to thread the machine. Different machines have slightly different placements of parts, but they all follow the same basic threading method.
Start with the presser foot up – there should be a lever behind the machine to move it up, or if the machine is computerized there may be a button to lift the foot.
The threading goes from right to left – start by putting the spool on the spool holder. If your spool holder is on the front of the machine, it might have a cap to put on the holder to stop the spool from sliding around.
Then take it to the thread guide on the top, down and under the next thread guide, up and in the take up lever (the metal part that goes up and down as the machine sews), back down and through the thread guides and lastly threading the needle.
Do not skip any thread guides. Do not sew with the bobbin in incorrectly. These will cause issues with your stitching like poor tension and bunched up thread.
After your needle is threaded and the bobbin is in, use the hand wheel to slowly lower the needle into the bobbin area, and back up. The needle thread should catch the bobbin thread. You may need to gently hold the needle thread so it doesn’t slide into the machine while you are taking up the bobbin thread.
Move the bobbin thread and the needle thread so they are under the presser foot (needle thread needs to go through the little opening in the center of the presser foot) and towards the back. Close the bobbin area cover.
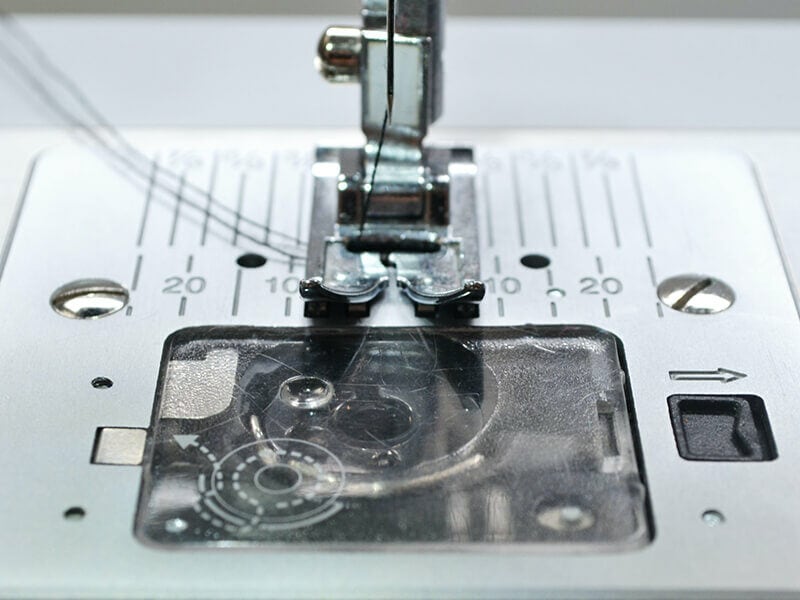
You are now ready to use your sewing machine!
How To Use A Sewing Machine To Sew A Seam
Now that your machine is threaded and powered on, it’s time to sew!
Raise the presser foot either with the lever behind the machine or by pressing the button if it is computerized. Place your scrap fabric underneath.
If you are just learning, your scrap fabric can be almost anything. You don’t need any more that you can use to practice sewing on.
I do suggest testing your stitching on two layers of fabric, as most of what you sew will have 2-3 layers of fabric and rarely just one. Lower the presser foot.
You can adjust the stitch length and type to your project’s needs, most regular projects use a regular stitch selection. Most of the time, regular sewing use a regular stitch with length of 2.5-3, and a width of zero.
The width is for decorative and zig zag stitches. There are different machine needles you can get for different types of fabric, but in most cases and for learning you can start with a universal needle.
To test your first seam, put your left hand gently on the left side of the fabric, and your right hand on the fabric in front of, but not too close, to the sewing machine presser foot. Be careful not to put your fingers too close to the sewing machine needle.
Apply gentle and steady pressure to the foot pedal to make the machine sew, moving your hands with the fabric. The needle will move up and down and the fabric will move through the machine. Press harder on the foot pedal to make it go faster and apply less pressure to make it sew slower.
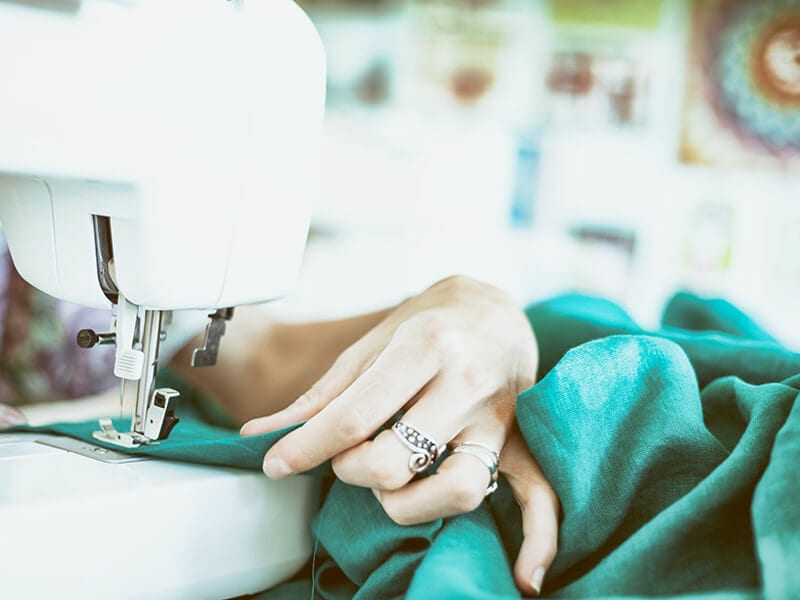
Avoid trying to pull the fabric through the machine by pulling on the back of the fabric. This can distort the stitches and possibly cause problems with timing mechanisms with the machine over time.
Practice sewing on your scrap fabric. You will notice to the right of the needle there are lines with measurements. This is the distance from the needle – your seam allowance. The seam allowance is the distance between the stitch and the edge of fabric. Practice sewing straight lines with different seam allowances.
When you make a seam, you need to use the backstitch feature to secure your stitches and stop your seam from coming undone at the start and end points.
Press the reverse button on the front of the machine while slowly stitching a few stitches to make the machine sew backwards, then release the reverse button to sew forwards again over your stitches to secure your seam. Do this when you start and finish a seam.
When you have completed your seam and back stitched, make sure the needle is in the upright position. Take your foot off the pedal and lift the presser foot. Gently remove your fabric.
The threads will still be attached unless you have a computerized setting to automatically cut the thread. There is a little blade to the left or back of the sewing machine that can be used to cut the thread, or you can use small scissors or thread snips.
Watch this video to know:
When To Use Different Sewing Machine Stitches
Different sewing machines have different stitch options. You will use the straight stitch most often, this is the default stitch. The straight stitch is usually used in sewing hems, most seams, and topstitching.
The next most commonly used stitch is the zig zag stitch. A small zig zag stitch can be used to sew fabrics with stretch, as these stitches can stretch with the garment. The width setting changes how wide the zig zag is. A wider and shorter zig zag can be used along the edges of fabrics before you sew them to stop the fabric from fraying.
Watch this video to know:
Some machines can have a lot of different decorative stitches. These usually have a recommended width and stitch length to make the decorative stitch properly.
As well, your machine may have buttonhole stitches and a special buttonhole presser foot attachment. When you use a zig zag stitch or other wide stitch, make sure you use a zig zag presser foot which allows for enough room for the needle to move back and forth without hitting the foot. If the needle hits the foot it will usually break.
Computerized Vs. Mechanical Sewing Machine
You can choose between a computerized or a mechanical machine. Both sewing machines are similar but have different features.
Computerized machines have additional features to do certain things for you if you choose. They may have settings to make threading the needle easier, or some cut your thread automatically.
Features vary by model, but some also let you choose if you end your sewing with your needle up or down for example. They have buttons on them to choose things like stitch length and setting instead of turning a dial.
Mechanical sewing machines do not have these features, you have to do these things manually. However it is not any more difficult to use a mechanical sewing machine. Some people who sew find mechanical machines more durable as they may be easier to replace and repair parts.
Some Common Sewing Machine Problems And How To Fix Them
While learning how to use a sewing machine is fairly straightforward, sometimes things can go wrong. Skipped stitches and thread jamming up are problems that can happen if there is something a bit off in the machine.
Here are some common things to check for when your sewing machine is giving you problems:
Does Your Sewing Machine Needle Need to Be Replaced?
They can get dull, bent, or no longer become totally smooth. The first thing to try when your sewing machine is giving you problems is to change the needle.
Make sure you have it in the right way. The long groove goes on the front. The groove helps guide the thread into the right place. Sewing experts recommend changing your needle after doing a large sewing project.
Is Your Machine Threaded Correctly?
Bobbins in the wrong direction, and thread not in the thread guides or the bobbin upside down can all cause problems.
You May Need to Clean the Inside of Your Machine
Power off and unplug your machine. Take a soft brush and clean around the bobbin holder, bobbin case, and the area around where the bobbin goes.
You can unscrew the screw to the plate that holds the bobbin in and dust it with the cleaning brush. Do not use water. Just use the dry brush that comes with your machine. Lint can build up inside the machine which can jam some parts and make things not work properly.
Watch this video to know:
If the tips above do not work, you may need to take your sewing machine to a local sewing machine repair person to get it working again. They can also point out how to best clean your model of machine.
Practice Your Sewing Skills With A Sewing Machine
Now you know the basics of how to use a sewing machine. Proper threading is very important to the use of a sewing machine, whether computerized or mechanical.
Some of the most common things beginners use sewing machines for are:
Hemming: To do a basic hem, turn the fabric edge in twice, pin, and sew along the folded edge.
Repairs: To sew a seam closed, sew over the original thread that has come undone. Do this in the seam and start your stitching over the part of the original stitching that is still good, otherwise it may just make a new hole above where you have repaired.
Some of the easiest craft projects with a sewing machine are making aprons, scrunchies, and tote bags.
Learning how to use a sewing machine is a useful skill. Once you know how to use it, you will be able to fix and make things yourself, saving you money. Or sewing can be a creative outlet once you become more comfortable with how a sewing machine works.
Let’s see this video to know:
 15 Best Sewing Machines for Beginners