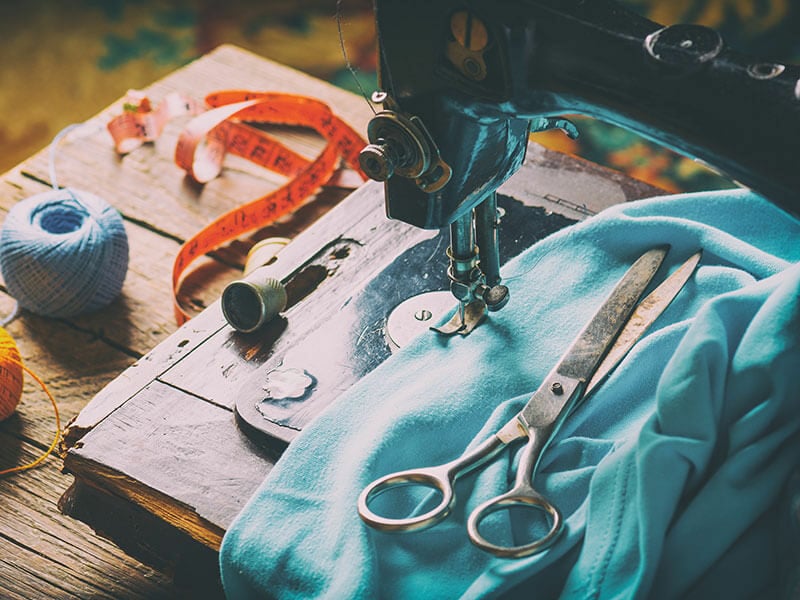
You don’t need to worry if you don’t know how to set up a sewing machine as I will instruct you immediately. You will understand installing principles of 2 main kinds of sewing machines and know specific steps for several other appliances.
No matter what types of sewing machines you have, this post can help you deal with your problems as quickly as possible. Therefore, don’t hesitate to learn something new and collect numerous valuable tips that will help you control your sewing machines effectively.
Let’s scroll down and explore a new world immediately!
Summarize Setting Up A Sewing Machine Guide
You can glance at this section to know what information will mention in this post; thus, you can scroll down any section you want to read or have a general view of my post. Don’t skip this part in a hurry.
1. What is a sewing machine?
2. How many types of sewing machine
a. Domestic sewing machine
b. Industrial sewing machine
3. How to set up a sewing machine?
Step 1: Check information relating to your sewing machine
Step 2: Connect your device to an electric outlet
Step 3: Install the needle
Step 4: Choose and add the spool of thread to the spool pin
a. How to thread your sewing machine?
Step 1: Wind the bobbin
Step 2: Thread the needle
Step 3: Install the wound bobbin
b. How to set up a mini sewing machine?
c. How to set up an old singer sewing machine?
d. How to set up a brother sewing machine?
4. Safety tips when setting up a sewing machine
5. Problems Can Happen While Setting Up A Sewing Machine And How To Solve Them
a. Problems With Needle Thread
b. Problems With Looper Thread Or Bobbin
c. Problems With The Needles
d. Problems With Stitches
What Is A Sewing Machine?
The fathers of a sewing machine are Elias Howe and Thomas Saint. The invention of the sewing machine is significant and can change the clothing industry totally. Before appearing a sewing machine, women had to stitch fabrics by hands and thread cotton through a needle frequently.
They also had some trouble when sewing heavy-weight fabrics since the needles are pretty thin, and sewing these fabrics can hurt their hands.
In addition, the stitches cannot be even, and the productivity is pretty low. Thus, people need the support of a mechanism, and a sewing machine was born. It has helped people produce cloth quickly without spending much labor.
How Many Types Of Sewing Machines?
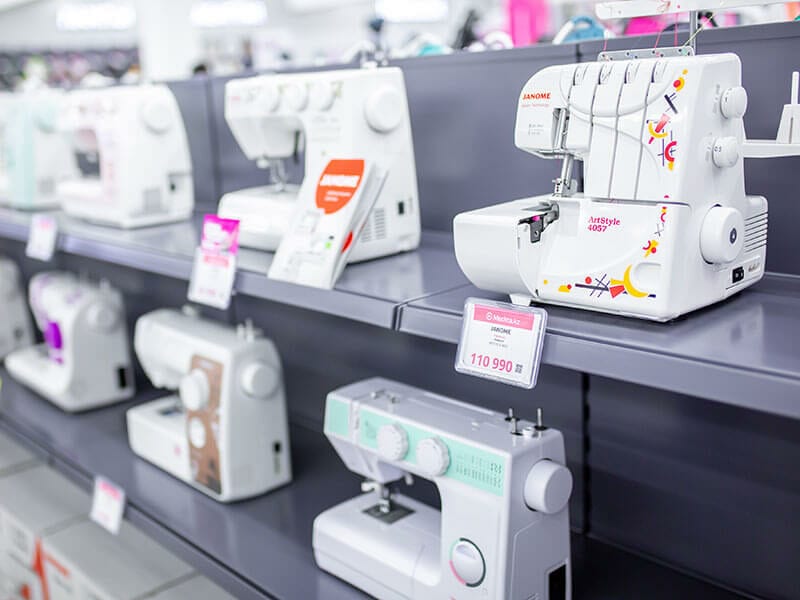
The traditional sewing machines depended on the movements of the handle and foot pedal to operate. They are bulky in size and require your hands to move continuously to control fabrics and machines. These machines are bases for appearing modern and flexible ones.
The modern sewing machines appeared later that offer you convenient uses and multi-purpose with the easy-to-control board. Both the formers or modern sewing machines are constructed with similar components.
Thus, I will not arrange types of sewing machines that are based on their components. You can reference this video to understand what they are and their functions. Instead of that, I will divide them into domestic and industrial sewing machines based on their size and the frequency that you use them. Two main kinds of sewing machines are domestic and industrial sewing machines.
Domestic Sewing Machines
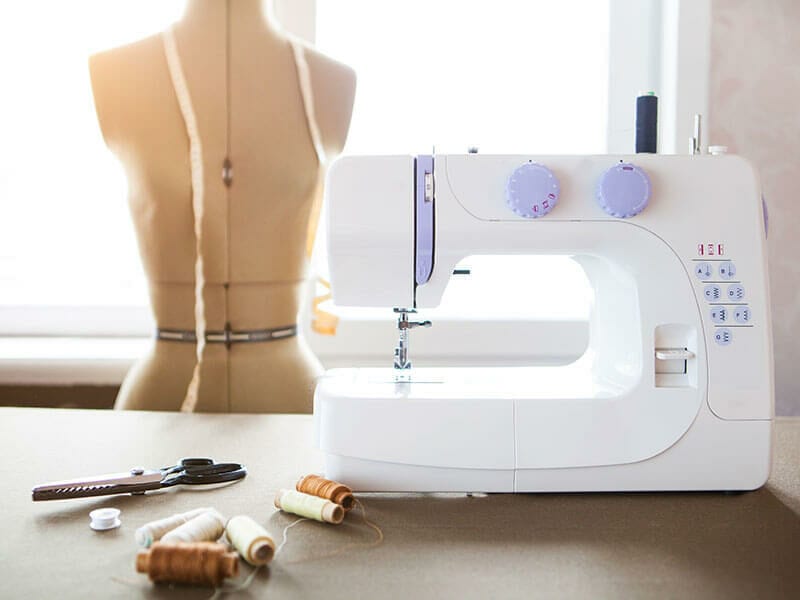
Domestic sewing machines are constructed with compact design and can serve you well if you use them a few times a week and about a couple of hours each use. Besides, these machines are just suitable for a small number of clothes and short stitches.
You cannot use them for daily use since their productivity cannot meet your requirements. Instead of that, you will need to choose an industrial sewing machine to meet your constant demands.
You can pick a suitable domestic sewing machine among 6 varieties: mechanical, electronic, automated or computerized, embroidery, quilting, or serge/overlocking machines.
Industrial Sewing Machine
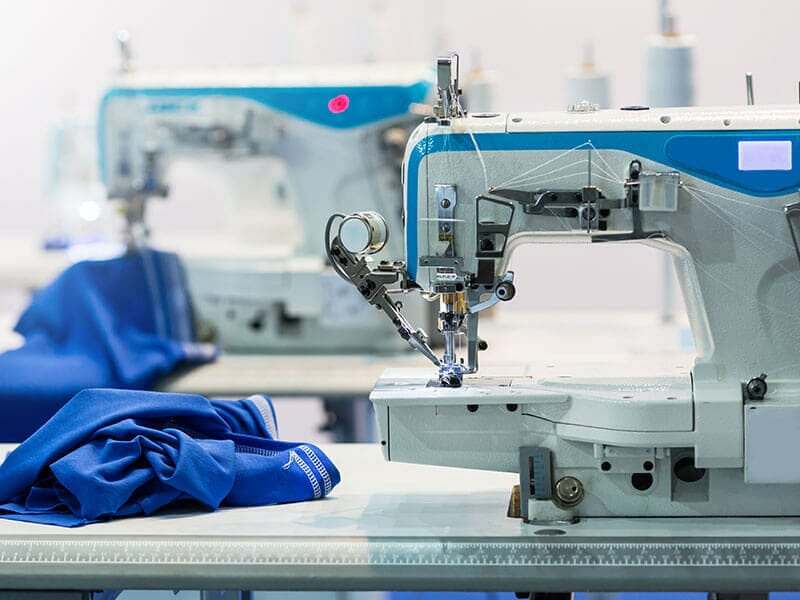
These industrial machines will correct the mistakes of domestic ones, such as dealing with a large number of clothes, sewing the long stitches, and shortening the time for working. However, each of them is specialized in one kind of stitches, such as cover stitch, lock stitch, and more.
In addition, these can sew heavy-weight fabrics, including leather, plastic, canvas, rubber, and upholstery fabrics, that help you produce various kinds of clothes.
How To Set Up A Sewing Machine? – The Ultimate Guide
Owing a sewing machine will help you deal with various tasks such as adding several accessories to your old outfits or crafting your own products. However, before starting the first stitch, you should know how to set up a sewing machine.
What You Need:
- Manufacturer’s instructions
- Threads
- Sewing needles
- Bobbin
How To Set Up:
Step 1: Check information relating to your sewing machine

Before setting up your sewing machine, you need to take it out of the box and check carefully to avoid missing any parts of it. Don’t forget to prepare enough space to store your device, and you can easily reach work.
You need to ensure that the surface you place your sewing machine is sturdy and stable to avoid shaking while operating. I recommend you should spare a corner in your house to install it since this place usually doesn’t any barrier, and you can get into or leave the corner quickly if needed.
Besides check its components, you should take all manufacturer’s instructions, including product specification, producers’ warranty and users’ guide.
Step 2: Connect your machine to an electric outlet
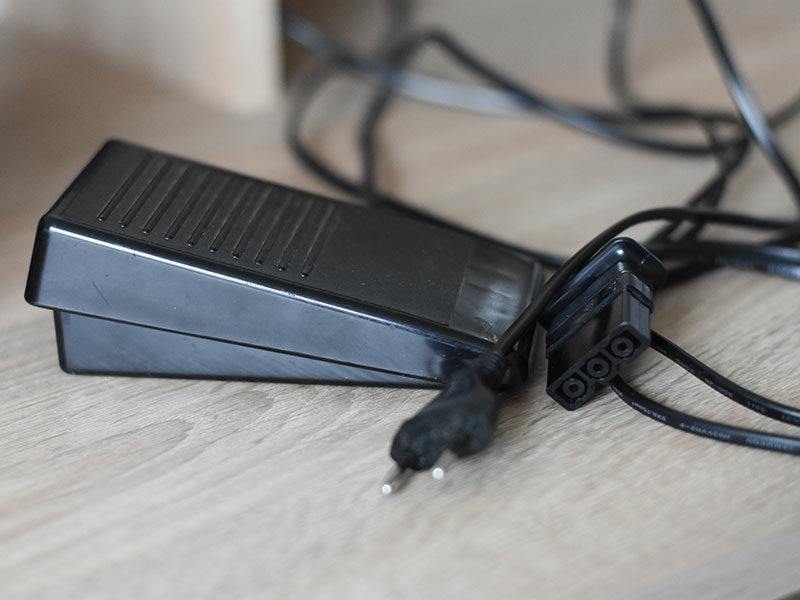
After installing your sewing machine, you need to plug in it. Both traditional and modern sewing machines have to be turned on the power button to start using.
The switch location is different in various machines, and you should look overall at your device to determine it.
Step 3:Install the needle.
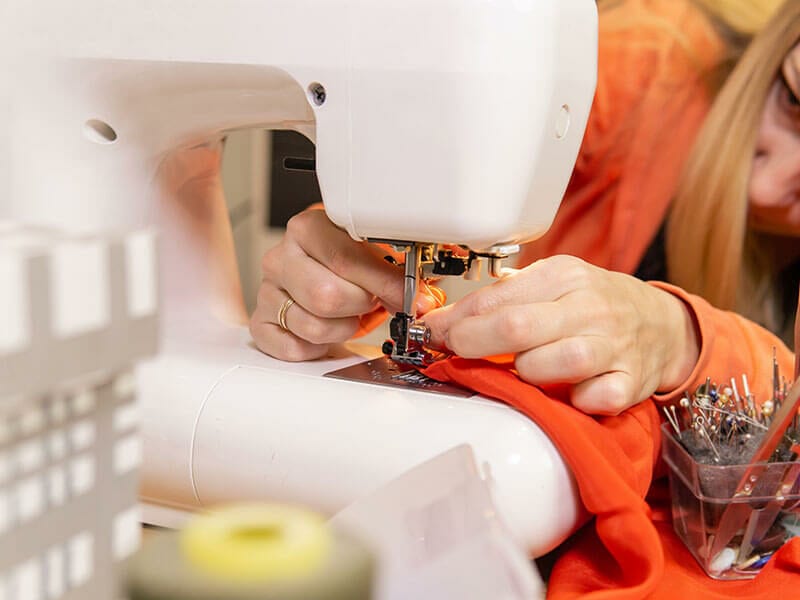
You cannot stitch your fabric if you forget to insert the needle. This task is quite tricky for the first time as you cannot find the hole for the needle and may be prickled during this process.
Therefore, remember to call the help of a needle insertion tool that will make sure you install the needle ideally and allow it to create the same stitches.
Besides, you need to choose the right size of needle that is suitable for your sewing purpose. The American needle sizes are from 8 to 19 that are great for fabric from light to heavy. The bigger the needle size is, the heavier cloth is.
Nevertheless, in Europe, the needle sizes are marked from 60 to 120 for fine to heavier fabrics.
Step 4:Choose and add the spool of thread to spool spin
After choosing the needle size and installing it on your sewing machine, you have to use a warped line around the spool and place it through a nifty spool pin.
Usually, this spool pin is a tall lever located above your machine on the same side of the wheel. You just can produce high-quality items when you use premium thread. This thread is dyed with excellent colors and cannot fade when you wash clothes.
How To Thread Your Sewing Machine?
Thread your sewing machine will help you intertwin thread from a spool of yarn and a bobbin of thread. The spool is located on the upper machine, whereas the bobbin is installed on the bottom.
Choosing the same color of the spool and bobbin will create the same stitches on both sides for your fabrics.
You will find this step is more complicated than the 4 previous ways, but it is a significant step to ensure your sewing machine can work smoothly and avoid tangled thread while sewing process.
Not all sewing machines have the same threading principles; thus, I can provide you a general guide for threading almost sewing machines. For more details, please keep reading the following sections.
Wind The Bobbin
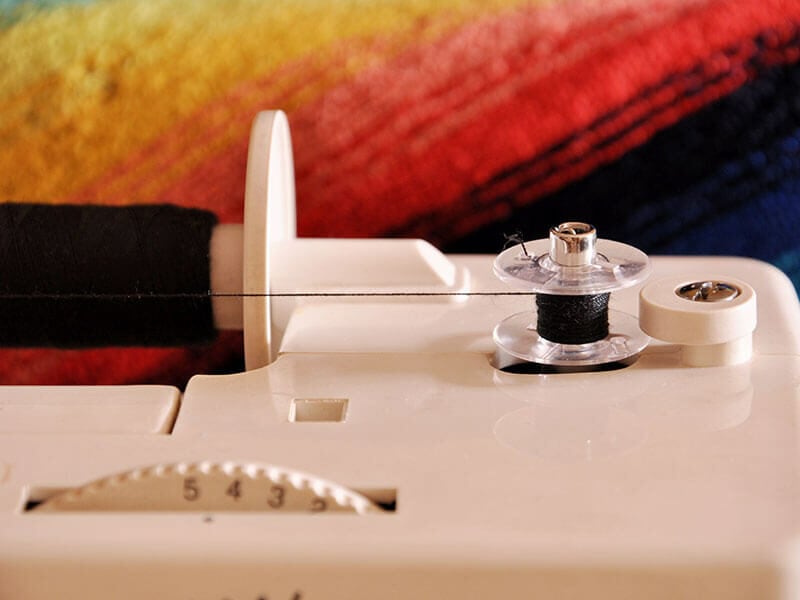
Step 1: You should do this step when your bobbin is not wound with thread. After adding a spool of thread and fix it with a holder, you need to pull out a little line and move it to the back of your machine.
The right direction is over the tops towards the back, not underneath of this machine if the spool pin is horizontal.
In case the spool pin is vertical, you just need to pull out the thread and move it around the back and towards the left of your machine to allow your rope to wind in an anti-clockwise direction.
Step 2: The thread will be wound around a disc in front of your machine; the disc usually has a silver color; you can call it a silver nub. Afterward, don’t forget to pick thread through 2 small holes in the bobbin, wrap the thread around it a few times or until you ensure the line cannot fly out of it.
Step 3: You have to wrap the thread in an anti-clockwise and stick it onto the bobbin spin. You can find it near the spool pin, which is placed on the right of your machine. If you cannot realize it or your device has a particular design, you should read the manual to determine it quickly.
Step 4: The following action is to press the foot pedal to allow the bobbin to be wound; you can keep winding as long as you want. You use a scissor, cut the thread to separate it from the spool and from the bobbin.
Thread The Needle
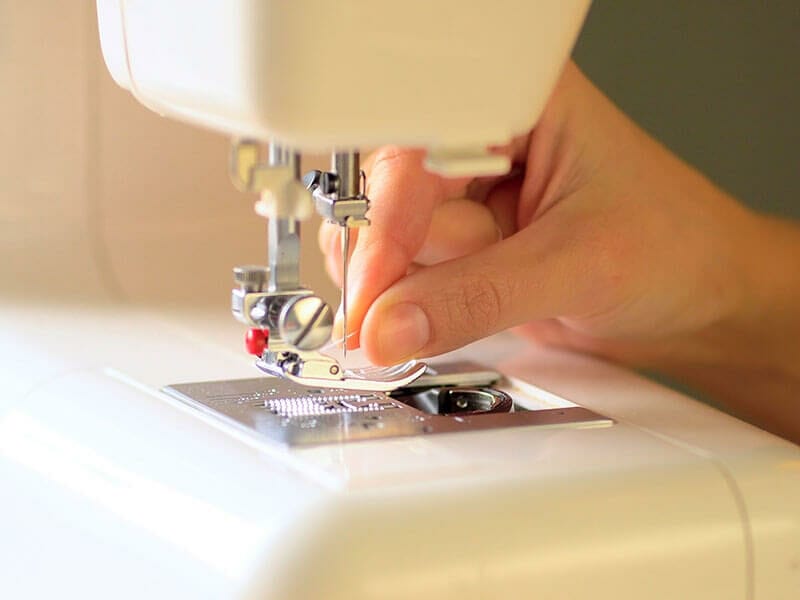
Step 5: You need to remove the thread from the silver nub and, you transport the line according to the channels that are marked on your machine. The directions are printed on it; you just need to do it like that.
When you transfer it to the last channel, you will find the lever at the top of the device. If you cannot see this level, you have to turn the handwheel towards you, and the lever will appear.
Step 6: Move the thread through the take-up lever, pull it down the bottom, and thread the yarn behind the hooks. You have to check how many curves your machine has and allow the thread to be thread through all of them.
Step 7: Don’t forget to turn off your machine to avoid unwanted accidents, thread the thread through a hook on the needle and make sure the line is not twisted here.
Step 8: In several machine models, you have to pull the lever to the left of the needles down, pull the thread around and under the hook, then right past the eye of the needle and pull the lever up.
Install Your Wound Bobbin
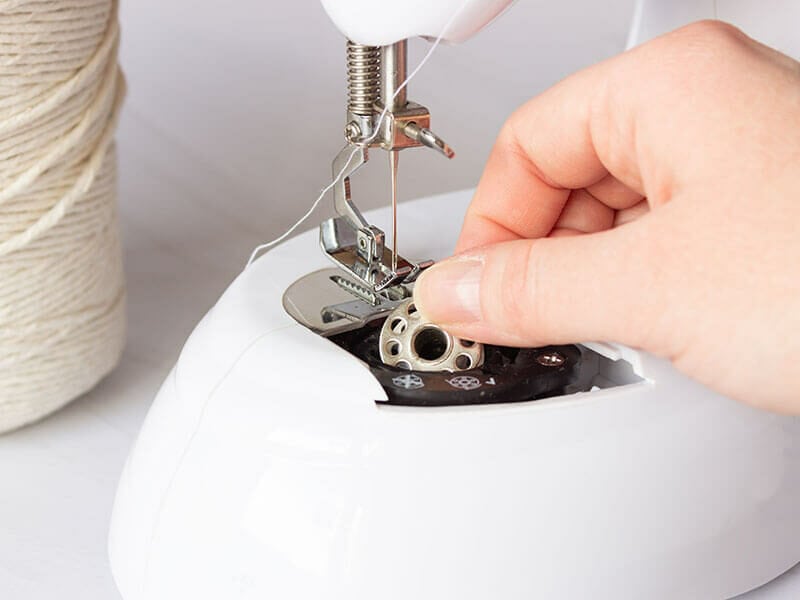
Step 9: You need to remove the casing in the front of your machine, open the cover and take the bobbin case out of its holder.
Step 10: For front-of loading machine: Put the wound bobbin into the bobbin case clockwise, but you should check your machine manual if some models have different features.
Pull the thread out through the slit in the bobbin case to reveal the line through the hole of the case. You can pull the thread to realize the bobbin is turning inside, then place the case in its original area.
For the top-loading machine: You need to remove the plastic plate under the needle and do the same as I instructed. Then, pull the thread towards the left to see whether your bobbin turns smoothly.
Step 11: You need to thread the thread through the hole in the needle plate. You can remove the presser foot to see more clearly this hole and put it back later. You need to turn the wheel towards you so that the needle will go down under the plate and go up again.
The needle will catch the thread from the bobbin; the line will come up to the surface through this hole.
Step 12: The last step is you have to insert the cover back of its position; therefore, when you sew fabric, 2 threads will be ready to connect.
How To Set Up A Mini Sewing Machine?
Mini sewing machines are constructed with compact design and easy-to-understand functions. If you are a beginner or you want to buy it for your kids, choosing a mini machine is a perfect selection.
It has affordable prices and space-saving. Although they cannot replace a regular sewing machine, I believe it is excellent for a new hobby.
How To Set Up:
Step 1: You don’t have to plug it in an electric outlet in this step. You need to determine the location of the spool pin where it is on the top-right of your machine. This pin is vertical and made from metal or plastic. After seeing it, don’t forget to extend it thoroughly to ensure your spool cannot drop down while turning the thread.
The mini machine doesn’t have many channels like regular ones; thus, it is designed with a sub-bobbin spindle on the front of it. You can choose to use this bobbin or the vertical spin. If you use this spindle, after taking it out, you need to put it back tightly to avoid the tangled thread.
Step 2: Like these previous steps, you need to warp thread around an empty bobbin. The bobbin spin is located in the center of the handwheel. It’s time you need to plug in and press the foot pedal until the bobbin is full thoroughly.
Step 3: You have to thread the thread through the holes in the take-up lever, needles, and needle plate like I mentioned above. You will have the separate lines in the same place; you can start your tasks immediately.
If you are curious about operating a mini sewing machine, don’t forget to check this clip.
How To Set Up An Old Singer Sewing Machine?
Old singer sewing machines are different from the newer ones. They are not constructed with automated bobbin winders; you should pay extra attention to my guide to find the easiest way to set up your old singer machine.
How To Set Up:
Step 1: You have to place a spool of thread in its spin. Then, pull the rope out and thread it through the loop near the take-up lever.
Step 2: You have to follow my directions for the thread to ensure it is not tangle. Continue pulling the line down; allow it to go around the tensioner. The tensioner will help you control the suitable tension that is placed on your needle while working process.
The tension will increase or decrease depending on what fabrics you use for sewing. You need to make sure the thread is pulled over around the spring, move it through the loop, not the hole near the tensioner, pull it towards the upper, and let it come through the hole in the lever.
Step 3: Pull the thread down, enable it to come through the eye on the left of your machine, then continue to pull it straight towards the bottom.
Step 4: You need to elevate the needle as high as possible before threading the thread through the needle and pull it back to start the next steps.
Step 5: Prepare a bobbin that is warped with the same thread as a general instruction, place it back to the bottom. You need to allow the thread to be through the split around the leaf spring on the bobbin.
It is quite hard to run the thread like this; thus, you should use a stable thread to avoid being split.
Step 6: You can try to pull the thread to see whether the bobbin turns smoothly or not. Afterward, cover the bobbin with its lid, and you can sew your cloth.
You can watch this video to learn how to set up a wide range of old Singer sewing machines.
How To Set Up A Brother Sewing Machine?
Brother sewing machines are one of the most common machines used by many housewives. These devices allow you to choose various kinds of stitches for your clothes and sew them quickly. Before sewing, you need to know how to set them up by reading the following guide:
How To Set Up:
Step 1: After doing 4 general steps, you have to pull out the spin, add the spool with thread, follow the diagram is printed on the machine to wrap several rounds of rope in the bobbin.
Step 2: Thread the thread through the bobbin hole, place it into the holder and slide it towards the right. Then, turn on the switch, start to wrap the bobbin.
Step 3: Once the bobbin is full entirely, cut the thread, place it on the bottom, thread the yarn through the metal arm, pull it out for several inches, and attach the case.
Step 4: Control the hand wheel to lift up the needle at the highest level. Moving the thread from the spool according to channels in the diagram, including thread it down around the tensioner, pull it up across the arm, thread it through a clip above the needle and thread it through the eye of a needle.
Step 5: When you pull the thread to the back, you need to turn the handwheel that enables the needle to catch the thread from the bobbin, then use a pencil to move lines along.
If you want to set up a Brother sewing machine visually, you can check this video.
Safety Tips When Setting Up A Sewing Machine
While you are setting up a sewing machine, you need to pay extra attention to safety to avoid unwanted injuries. I will provide you a few tips to protect you from problems.
- Remember to keep your finger a distance away from the needle since if you don’t do that, your finger will be hurt when you accidentally press the foot pedal. Generally, the appropriate distance is about 1 inch. You can find a protector tool for your finger in craft stores.
- You should tie your hair up before setting up a sewing machine, as your hair can be caught up while working.
- You need to focus on what you are doing, especially while setting up a sewing machine. If you are not concentrated on that, the thread may get tangle, or you cannot thread the rope through the suitable holes.
- To help you reach any quickly while sewing, you can arrange 2 tables for your sewing machine, the other for cutting and iron, and you will sit between them. These positions will help you reduce shoulder and neck problems.
- When you change the presser feet, you need to unplug them; otherwise, you can get injured if you accidentally press the foot pedal. Besides, once you are done with your sewing project, remember to turn off the machine immediately since your kids will be curious, explore your machine, and cause accidents.
- Before setting up a new sewing machine or a used one, you should clean it to remove all dust and dirt on it. You need to unplug and collect the power cord as you need to open the bobbin case and place your finger around the needle area.
- You have to choose the appropriate type and size needle for your machine. You need to various sewing fabrics; thus, you also need to buy different kinds of the needle such as a needle for leather will be tougher than one for cotton.
- For almost all domestic sewing machines, the flat shank needles are compatible with them; while, the round shank needles are a perfect companion for industrial sewing machines. You can check the instruction manual to ensure you need to buy which type of needles.
- You should change the needle after every 6-8 hours of use since it becomes dull and weak.
Problems Can Happen While Setting Up A Sewing Machine And How To Solve Them
When you are setting up your sewing machine, you can face several issues, yet you don’t know how to solve them. Don’t worry since I have collected the most common problems and suggested helpful solutions for them. Let’s check them below.
Problems With Needle Thread
- The thread is wrapped correctly: You need to ensure the spool spin can hold the spool of thread firmly and thread the rope through the right hole, as I mentioned. If the space inside the spool is bigger than the spin, you can roll a foam pad, add it to this space to prevent the spool from tilting.
- Trapping at the spool spin: You should adapt the height of the spin to fit with your spool and add foam to prevent the thread from being trapped.
- The thread is trapped in channels: You should thread it carefully to avoid breaking the thread. If your line is broken, you need to remove the thread slowly since it can get stuck in these channels. After dealing with a broken thread, you can rethread it correctly.
- The tension is excessive: You should replace a strong thread or control the tensioner.
- The sharp edges in necessary components: You buy a new machine; these edges can be sharp that cause break your thread when threading it through them, you can polish them. Otherwise, replacing them will be a suitable solution.
- The thread is fraying when you thread it through the eye of the needle: If you face this problem, you can use finer thread since the old one may be too big compared to the eye or use a needle with a bigger eye.
Problems With Looper Thread Or Bobbin
- The thread is not wound well on the bobbin: You can concentrate on the bobbin while wrapping to adjust it or use the pre-wound bobbins. You have to find a thread having the same color as the spool of thread to ensure you sew the even stitches.
- The tension of the bobbin is too tight: You just need to adjust the bobbin tension.
- The bobbin is over-running: You should install a spring or a washer to reduce this situation.
- The bobbin does not fit the case: This can happen when you choose the wrong bobbin; thus, you need to carefully check the right type and size of bobbin for the case.
- Sharp edges on spring, bobbin case, or looper eyelet: You have to ensure you place the right surface of the bobbin or polish the edges if necessary.
Problems With The Needles
- The needle is vibrant or deflects: You need to change the size of the needle or reinforce your needle.
- The feed dog is sway: You just have to tighten it.
Problems With Stitches
- The stitches are produced poorly: You need to increase the pressure of your feet pedal.
FAQs
After reading all my post, you probably have several questions want to be answered. I am here to help you; therefore, please reference these replies to find for yourself the optimal solutions.
It’s High Time To Start Your First Stitches
Have you known how to set up a sewing machine to start your projects? I am sure you have gathered a lot of precious information about setting up as well as safety tips to protect you from undesired injuries.
I hope you can set up your machine on your own and create excellent projects to give your beloved people. If you have any questions or useful tips during the setting-up process, don’t forget to type some words to share with people in the comment box chat below.
I am really excited to see your handmade clothes and remember taking some photos and inspiring this hobby to more people. If you like this post, you can tag your friends and family to it, and I welcome you to come back to my site every and read more useful subjects. See you soon!
References
- Consumer Reports. 2021. Sewing Machine Buying Guide.

 How Much Does an Embroidery Machine Cost?