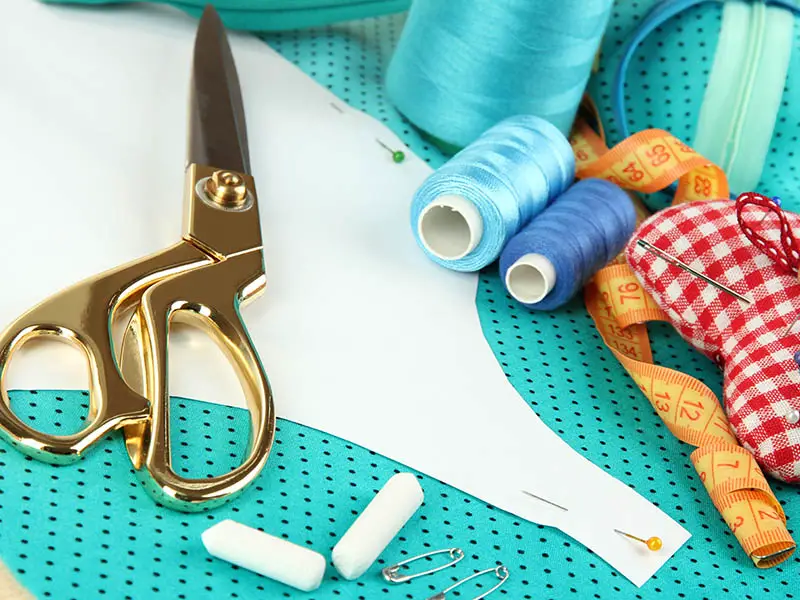
Every person who sews needs sewing tools. There are some essential tools for any skill level and type of sewing, like fabric scissors and pins.
Different categories of sewing have unique tools for certain applications. While some of these aren’t “essential” sewing tools, they do serve to make sewing faster, easier, and more fun. Keep reading and I’ll share some of my tips for using different tools.
Must-Have Sewing Tools For All Sewers
This is what you need to get started sewing. As you get more comfortable sewing and try different types of projects, you may want to experiment with different types of tools.
Sewing Machine
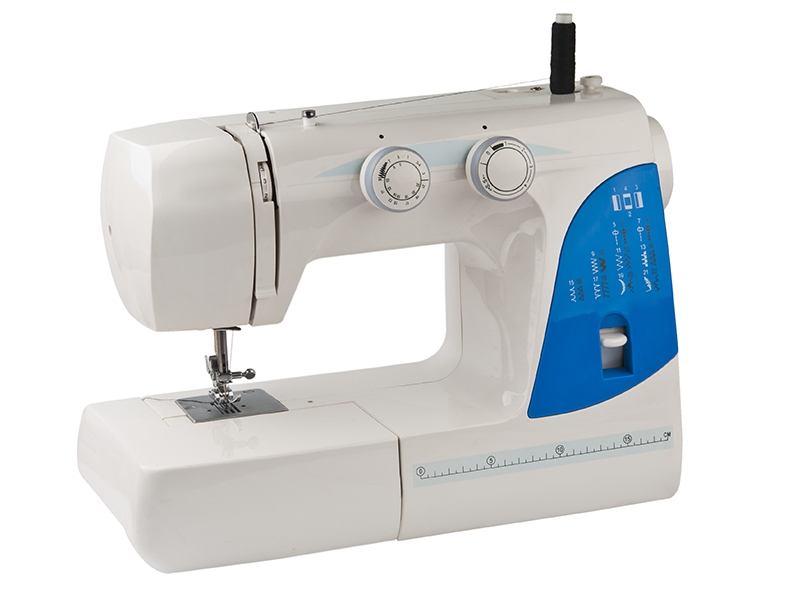
While you can use a hand sewing needle and thread to sew just about anything, a sewing machine will take you just a fraction of the time of sewing by hand.
Sewing machines can vary a lot in terms of features and price. You can look at getting a beginner machine if you are just starting to sew, or a secondhand vintage machine is another good option. Older machines tend to have fewer features but are typically quite durable.
You can choose computerized or non-computerized sewing machines – they both work! Computerized or not is just a matter of personal preference.
Use a sewing machine for most sewing projects, from quilts to fashion designs to home decor. It’s also handy to have for quick everyday fixes and mending.
Sewing Table
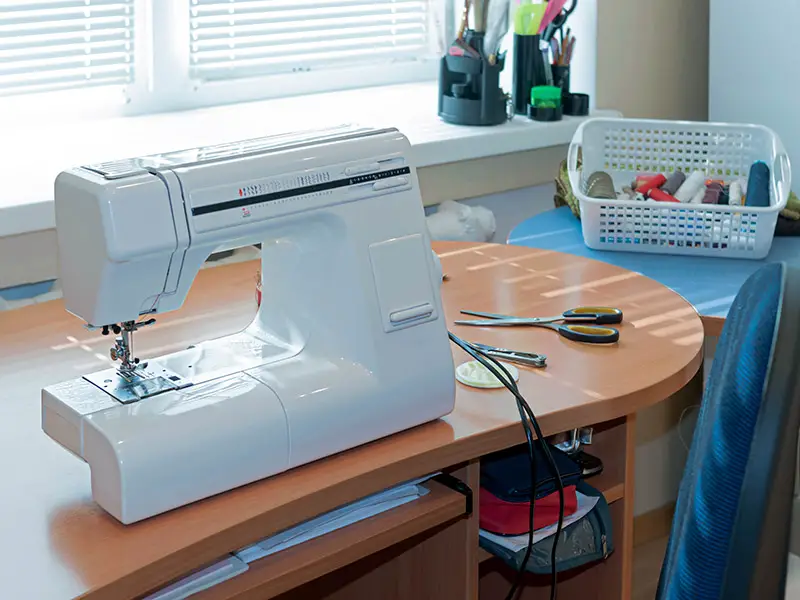
A sewing machine needs to sit on a solid table. You can buy sewing tables and desks, or use a regular table as long as it is sturdy. Keep in mind that sewing machines can be heavy.
If you do not have a designated sewing area, you can use your kitchen table, but avoid using small tables like card tables. Make sure your table is near an electrical outlet for your sewing machine and is in a well-lit area. You can buy a sewing machine chair, but I like to use an office chair without armrests.
Bobbin
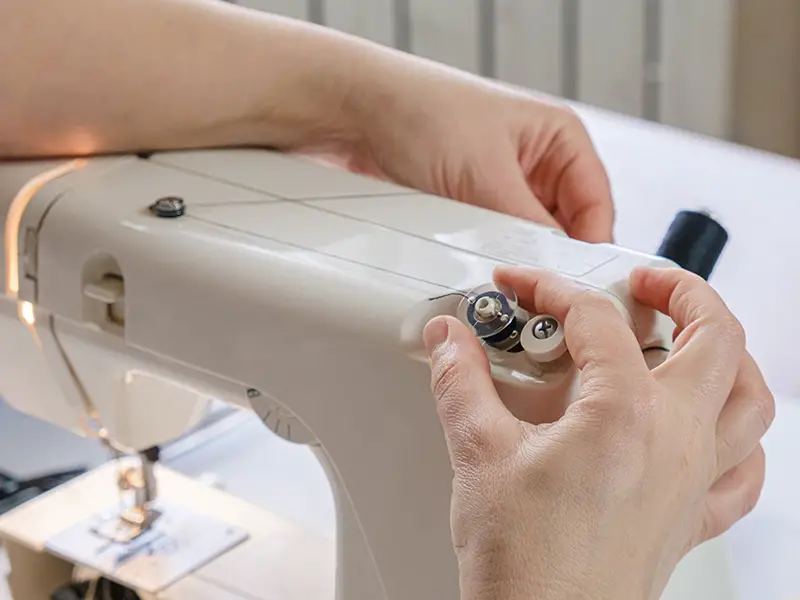
A bobbin is a small spool of thread that goes underneath the sewing needle. The bobbin thread in combination with the top thread creates a lockstitch, which is how sewing machines create stitching.
Your machine would come with a few bobbins, but it can be useful to get more. However, you need to make sure that you get bobbins that are compatible with your machine. Different brands and models have different bobbins – some are plastic and others are metal and can be different sizes.
It is important to use the right type of bobbin or else you will run into problems with your sewing. Machines that use plastic bobbins often have a magnetic ring underneath the bobbin. If you use a metal bobbin where the magnet is, the magnet will cause drag on the bobbin which can create stitching problems.
Metal bobbins usually go into a bobbin case which then goes into the machine, while plastic ones are typically drop-in.
Straight Pins
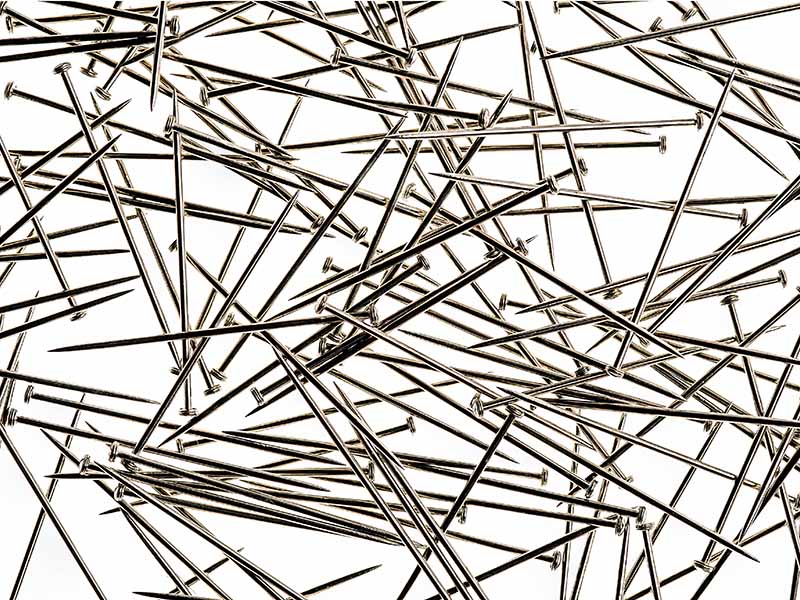
Pins help hold fabric together while sewing seams. They can also be used during alterations to manipulate the clothing for a better fit.
You can get pins in a variety of sizes and types. Pins with large plastic heads are preferred by quilters since they are less likely to get lost in thick fabric.
Tailors usually use all-metal pins with smaller heads because they can be used to hold fabric in place while under the iron. You can also get glass head pins.
Pincushion
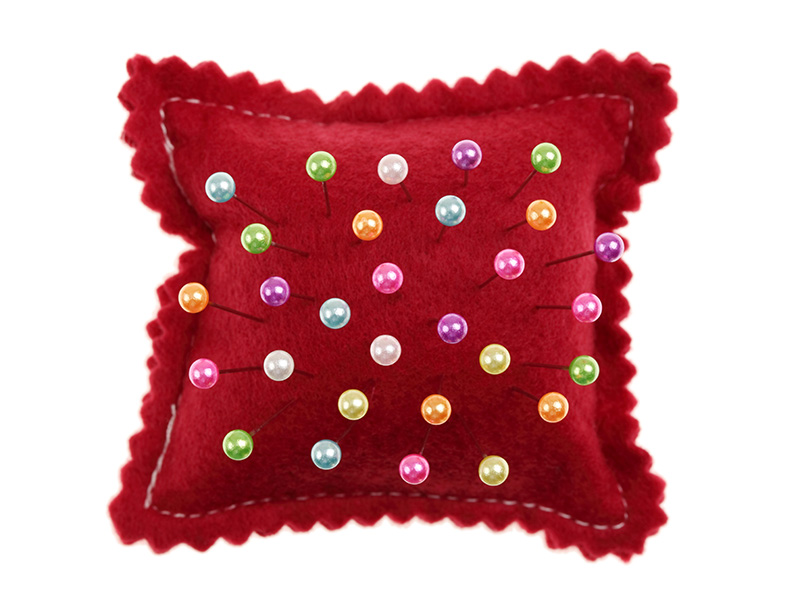
Keep your pins handy and organized by sticking them in a pincushion. You can buy pin cushions or make them out of scrap fabric.
If you use a dress form, you might want to try a pincushion that you can wear on your wrist to make it more convenient.
Pinking Shears
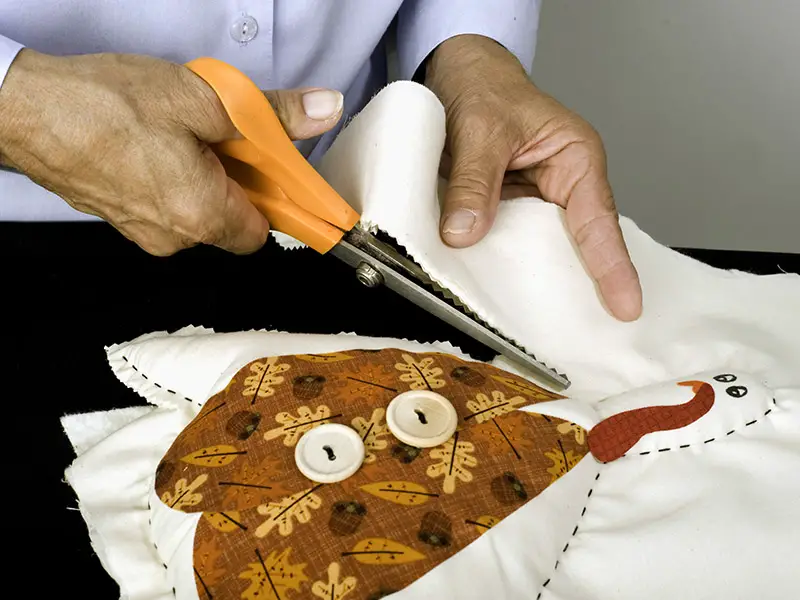
Pinking shears are different than regular fabric scissors because they cut with a zig-zag shape.
The zig-zag cuts are on the bias. The bias is the diagonal line of the fabric weave. When fabric is cut on the bias, it is less prone to fraying. Pinking shears are most commonly used to cut out craft projects or clothing patterns.
When using pinking shears on clothing patterns, cut out the fabric with regular fabric scissors or a rotary cutter first. Stitch in the seam allowance, then cut the edges with the pinking shears. This method is called “stitch and pink”.
Fabric Scissors
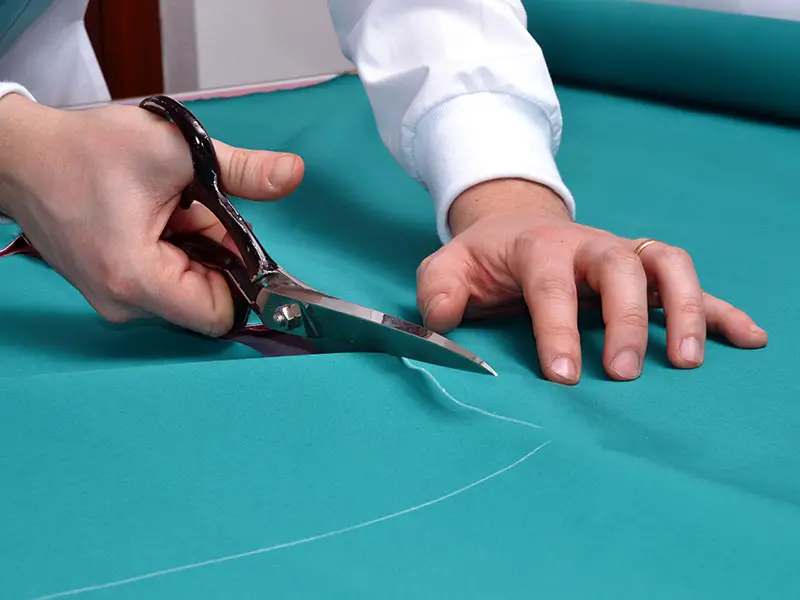
Fabric scissors need to be sharp and strong enough to easily cut through fabric. Most household scissors aren’t up to the task.
Fabric scissors are shaped so the bottom can rest along the table while you cut the fabric. Having a sharp tip can help cut your fabric precisely. For best results, use your fabric scissors on fabric only and use regular household scissors for cutting paper patterns.
Thread Snips
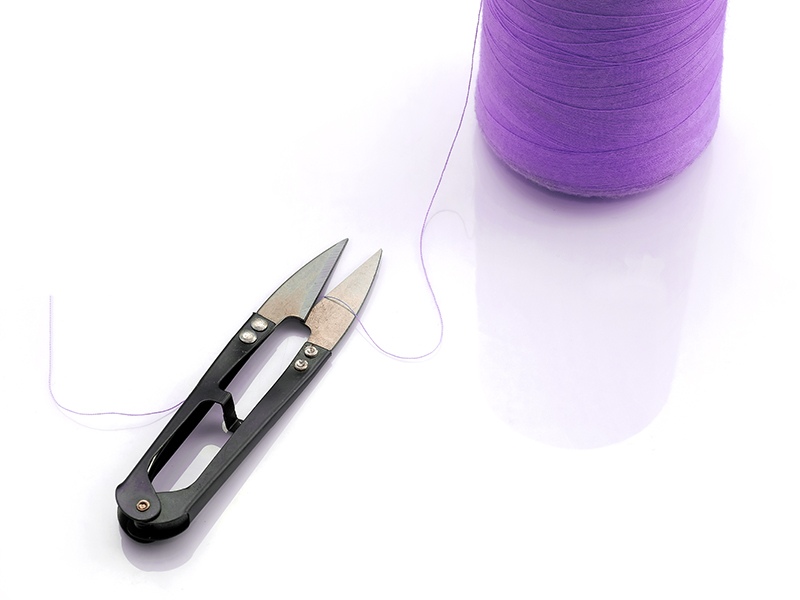
When it is time to cut thread, you don’t want to use fabric scissors as it is easy to accidentally cut the fabric, plus they are heavy. Thread snips are best to cut the thread and are less likely to accidentally cut your fabric.
Seam Ripper
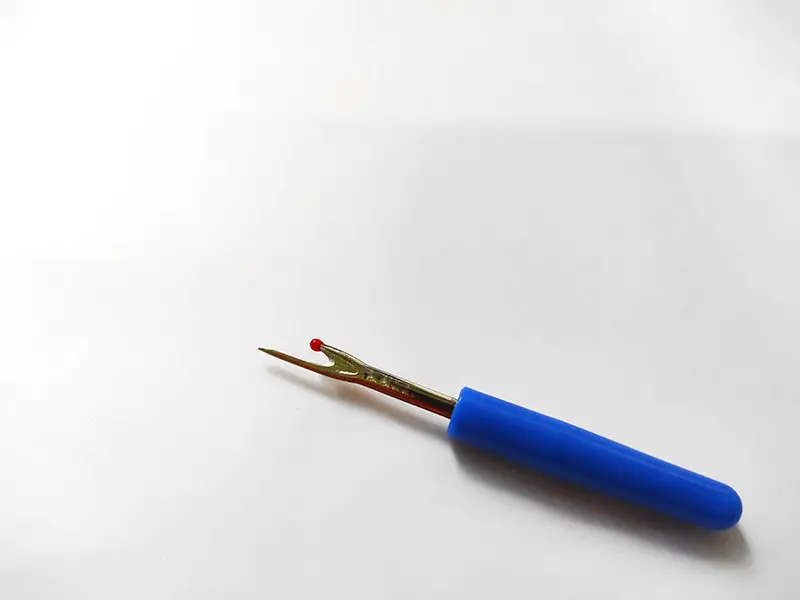
Even the most experienced sewer needs a seam ripper and uses it regularly!
There are a few types and sizes available. Seam rippers cut threads to open up a seam if you make a mistake and need to redo your sewing. They are also used to undo seams in clothing for doing alterations and refashioning existing clothing.
Sewing Gauge
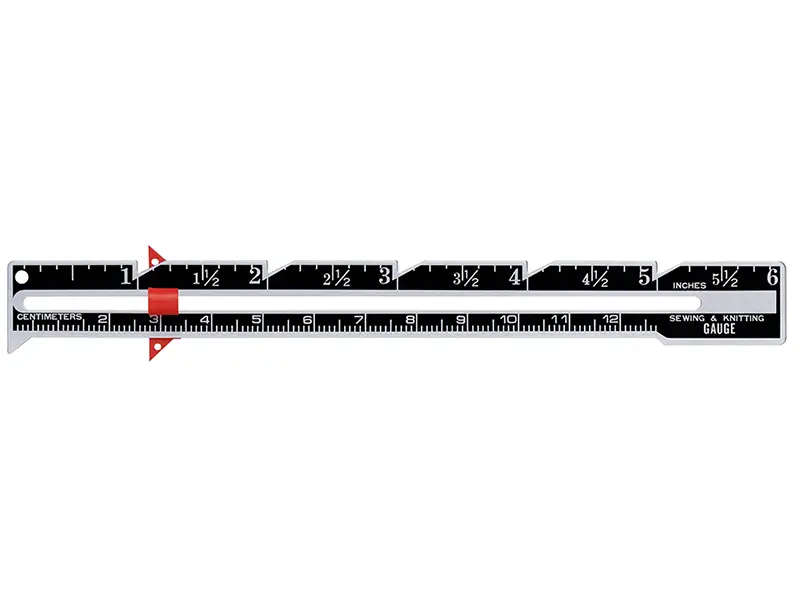
This is basically a small ruler with a slider to mark your measurement. Useful for measuring and marking the same thing over and over. I use mine for marking seam allowances and buttonholes.
Tape Measure
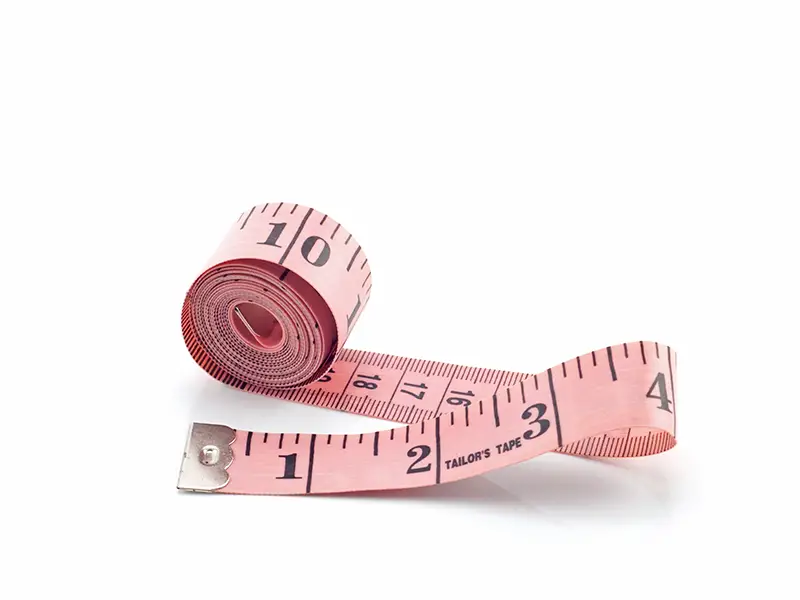
A soft tape measure is one of the most commonly used sewing tools for any type of sewing project. However, they are available in two lengths: 60” is most commonly used for taking body measurements and sewing clothes, while the 120” length is useful for quilting and other larger projects.
A tape measure is also useful for measuring fabric, checking sewing patterns, measuring other supplies (zippers, ribbons, bias tape), and more.
Tracing Paper
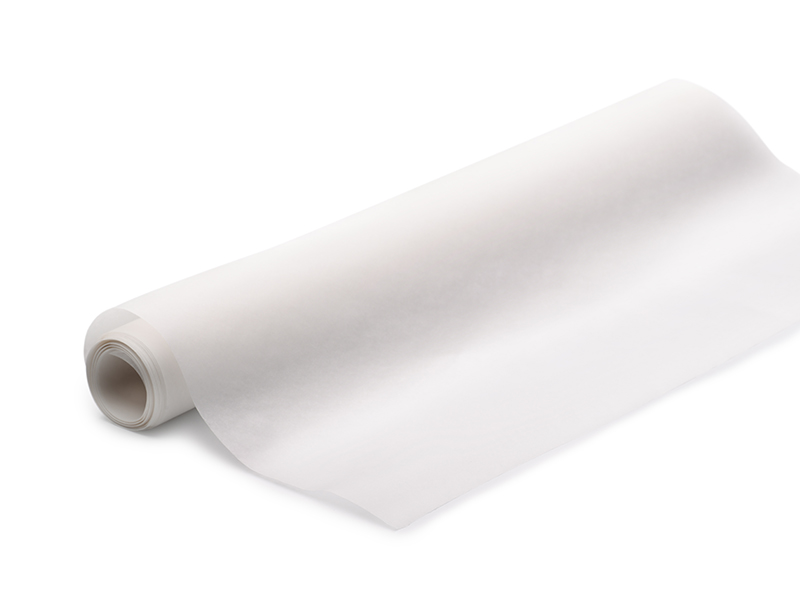
If you are using sewing patterns from a book or magazine, you may need to trace the pattern before you use it. For sewing, you want to use tracing paper that comes in a roll, not tracing paper that comes in a paper pad for drawing, as it will be too small.
Carefully trace all pattern pieces and cut out with paper scissors. You can then use the tracing paper pattern or trace again on something sturdier if this is a pattern you expect to use more than once.
Tracing Wheel
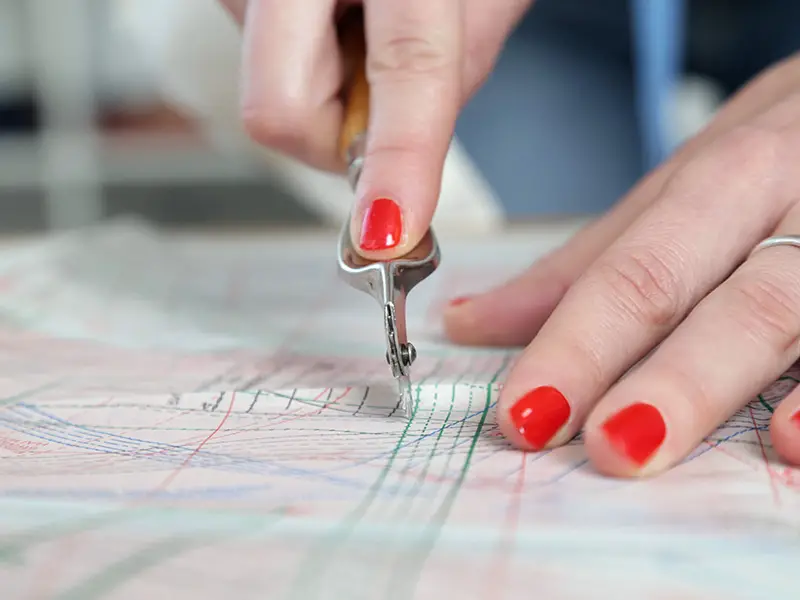
This looks like a wheel on a stick with spikes. The spikes poke little pinholes in the fabric to mark things like darts and other pattern features.
Tracing wheels are usually used with carbon paper underneath to transfer the marking to the fabric.
Iron
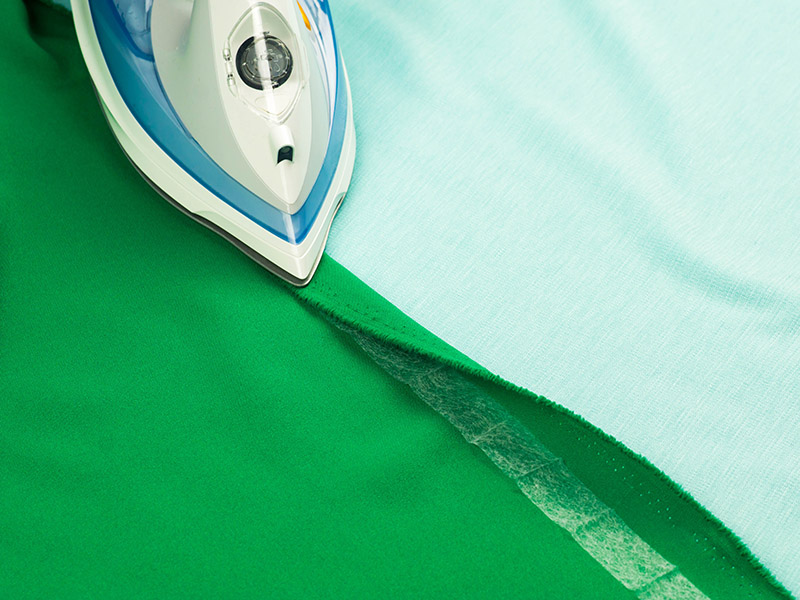
Pressing your fabric is very important! Pressing each seam as you sew it can help the fabric lay flatter and make it look more professional.
There are irons available with features for people who sew in mind, like larger water tanks. However, any iron will work. Crafters may also like mini irons and small ironing boards instead of regular sized ones if their work area is small.
Tailor’s Chalk:
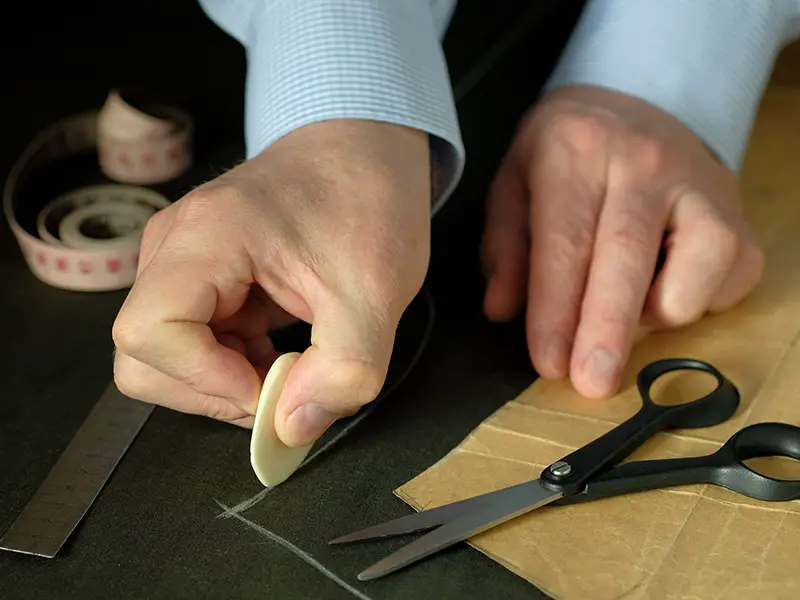
Use tailor’s chalk to mark your fabric projects. This can be in the form of a solid piece of chalk, or chalk powder in holders more similar to a pen.
Chalk brushes off your fabric for temporary marking. However, it is always best to test your fabric with chalk just to make sure that it does come off easily and not stain since results can vary with different fabrics and chalk colors. The most common chalk colors are white and blue.
Hand Sewing Toolkit
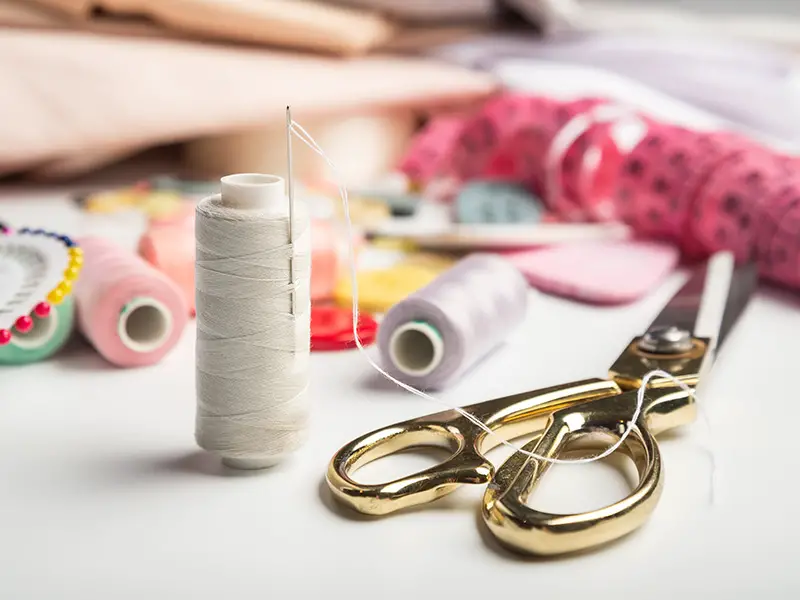
If you do not have a sewing machine and are instead sewing by hand, here are tools for basic hand stitching. You will still need basic things for cutting, marking and measuring fabric from the above list.
If you have a sewing machine, you still will need a hand sewing kit for things like small repairs, hand basting, and sewing on buttons.
Hand Sewing Needles
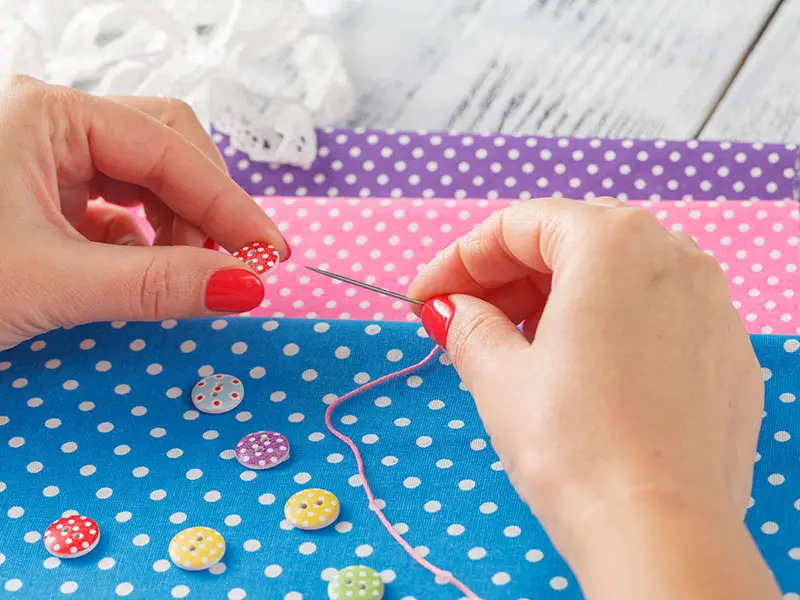
Sewing needles come in different sizes for different material types and projects. The part of the needle where you insert the thread is called the eye of the needle.
- Quilting betweens are very small.
- Needles for yarn are large, with a large hole. Useful for mending items like wool socks or crafting with yarn.
- Embroidery needles have a larger eye to accommodate the embroidery floss, which is thicker than regular thread.
- Upholstery needles are curved
- Beading needles are long and very thin
You may wish to buy a package of assorted needle types and sizes. For best results on very fine fabric, use a narrow needle.
Safety Pins
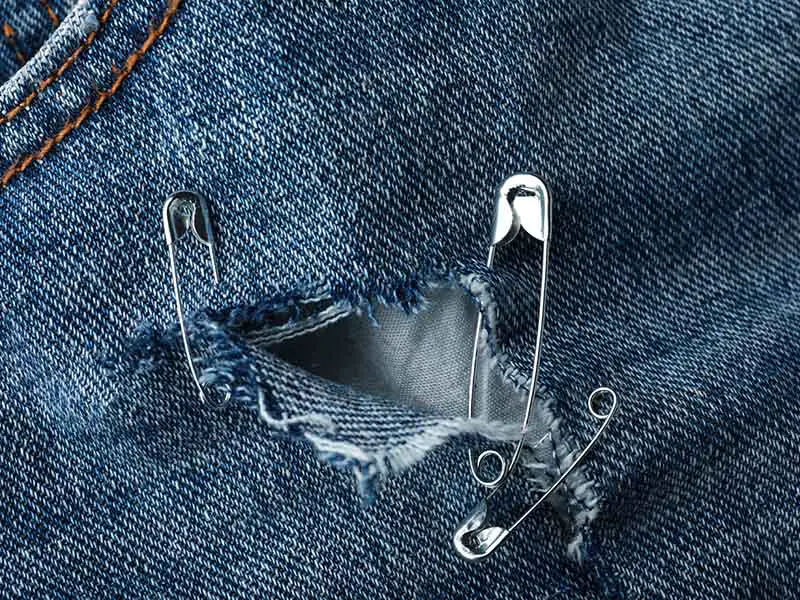
Safety pins are very handy and have multiple uses. They vary in size, thickness and quality. Most safety pins are thicker than straight pins; straight pins are best for very fine fabrics and safety pins are usually too thick and may snag the fabric.
Common uses for safety pins include:
- Pin up hems that need shortening
- Threading drawstrings through a channel
- Keeping fabric and small items together
- Pinning alterations
Needle Threader
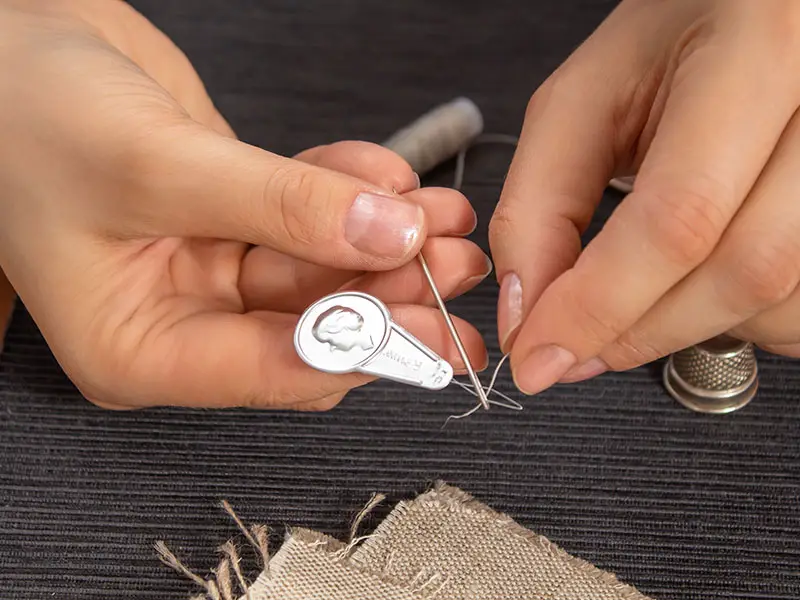
A useful little device that helps make threading a needle easier. Insert it through the eye of the needle. Thread the needle threader, then pull the needle threader back through the needle and it will take the thread with it.
Thimble
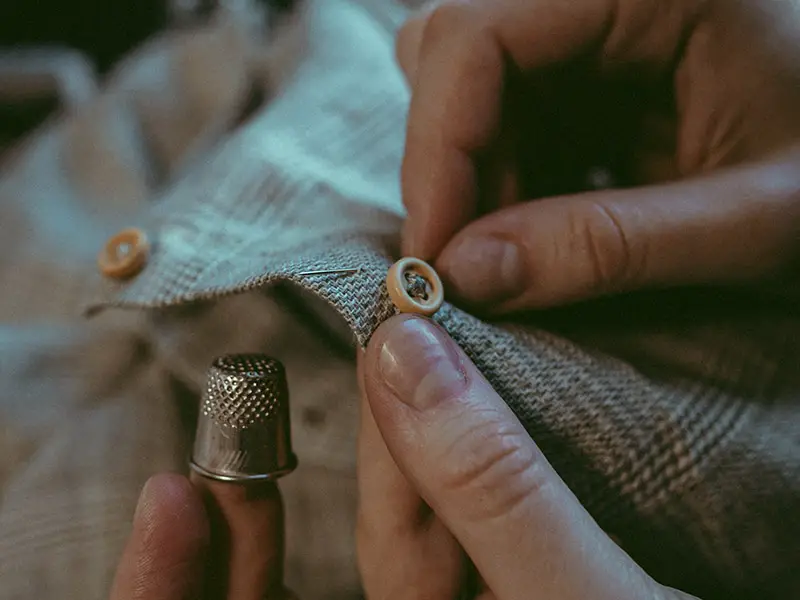
A lot of people think that a thimble is to prevent pricking yourself with the sewing needle. But it is actually to help push the needle through the fabric.
This is particularly useful if the fabric is stiff or thick, or you are doing a lot of hand sewing. Note that thimbles come in different sizes, so make sure you get one that fits your fingers. It is usually worn on the middle finger of your dominant hand.
Needle Case
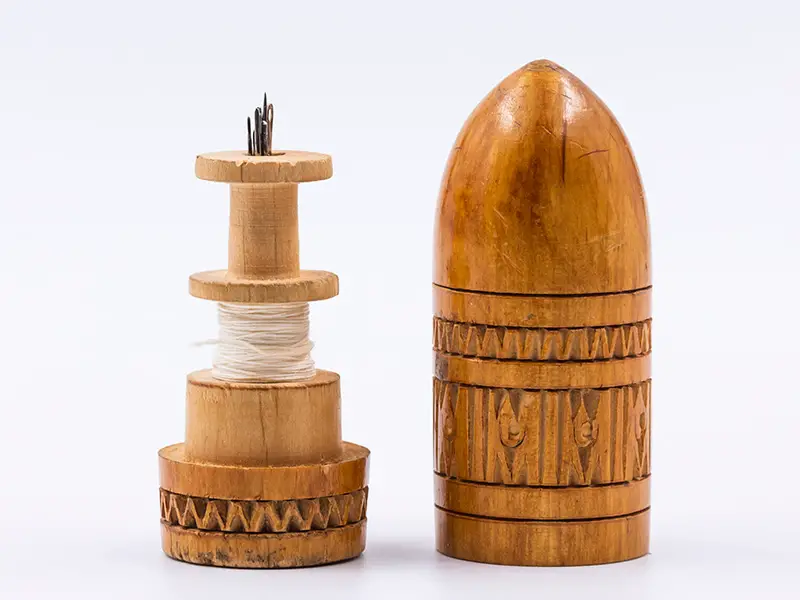
This is just a little case to store your hand sewing needles. This might just be a small plastic case. Some sewers make their own out of felt and scrap fabric to look like a little book to store your needles.
Stitching Awl
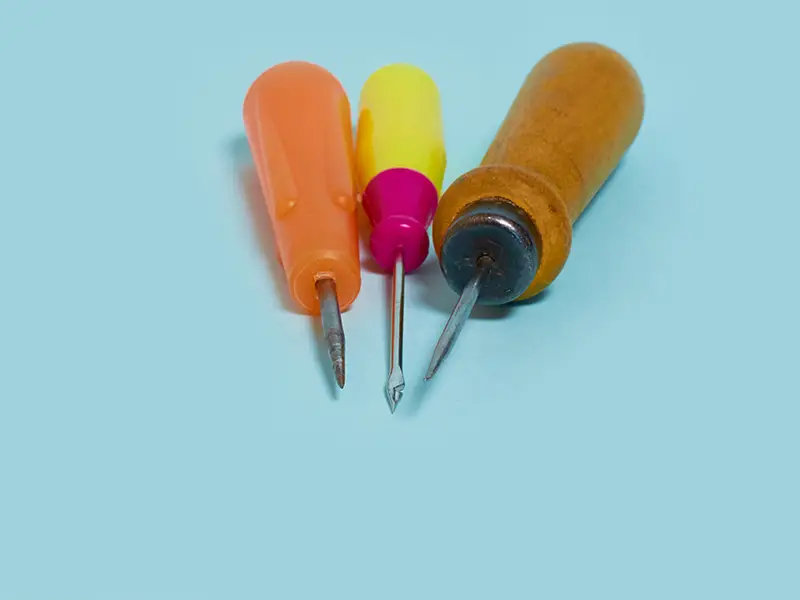
An awl is a handheld tool with a metal point at the end. It is used to poke holes in fabric for things like eyelets; it is also used in leatherwork.
A hole in fabric from an awl won’t unravel, because it pushes the thread around the tool as it pokes the fabric. If you cut a hole in fabric, it will unravel.
Tools For Sewing Clothes And Fashion Design
People who sew clothes will use some additional tools for dressmaking and tailoring that someone who sews home items and crafts won’t need. These additional tools help with fitting clothing on a person or dress form.
Dress Form
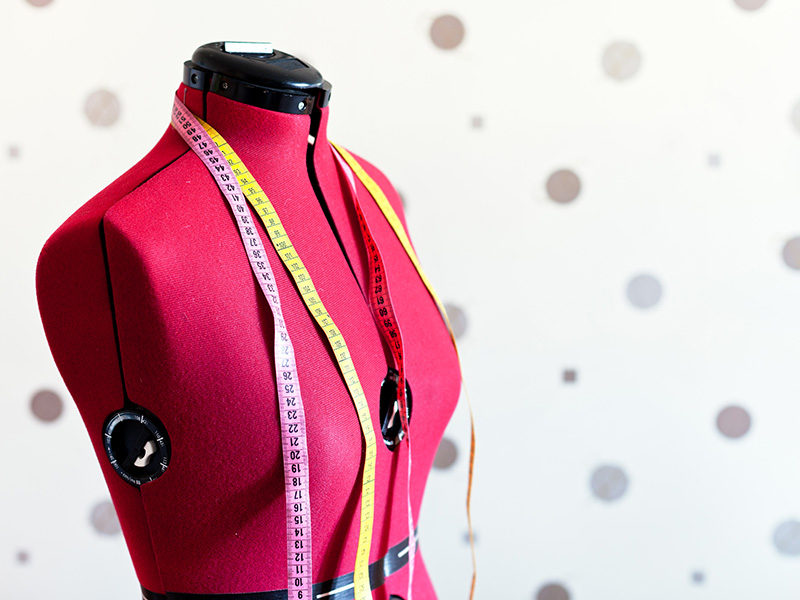
There are two types of dress forms: adjustable and professional. Both are used to try on a garment and check it for proper fit and design features.
- Adjustable dress forms adjust at the bust, waist, and hip. This helps create the right size when you are making clothes for yourself or a model/client. However, as you adjust it out, it creates gaps in the dress form where the item can’t easily be pinned.
- Professional dress forms are made to be a standard size. These cost more than adjustable dress forms, and are solid. These are better for draping designs directly onto the dress form, or creating clothing in standard body sizes.
Tailor’s Ham
An oval-shaped object used when taking clothing with curves to the iron. Typically it has canvas on one side and wool on the other. Use the wool side for pressing wool, and the canvas side for other materials.
A tailor’s ham is great for pressing darts, hip curves, and more. If you don’t have a ham, you run the risk of pressing curved seams flat when you iron them. This helps keep the shape of what you are sewing.
Tailor’s Point Presser & Clapper
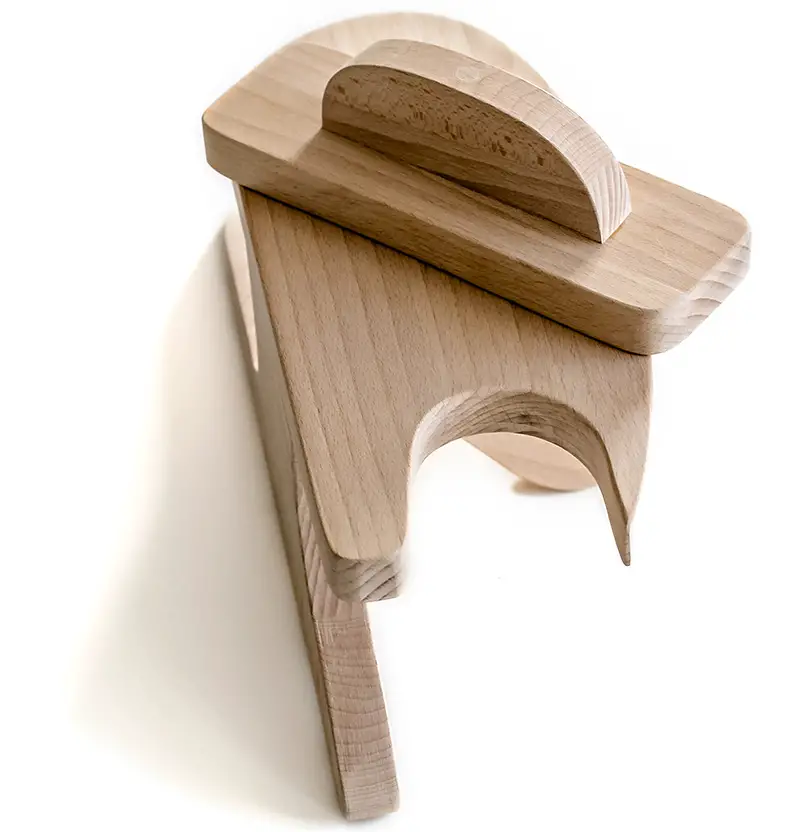
This is a wooden tool with different shaped points and corners used to help press points and corners. Useful when you need to press something that is a strange shape or a corner point, such as a collar or fabric belt point. It can also go in tighter curved areas like shoulders.
The point presser goes into hard to reach places to hold your project while you press it with an iron.
A clapper is basically a smooth wooden block with rounded corners. It is used to help flatten bulky seams.
Steam your bulky seam with the iron, then smash it with the clapper to help flatten the fabric. Commonly used for things like jean hems where the seams get bulky.
Pattern Notcher
This looks like a little hole punch. It punches a notch in your paper pattern so it is easier to remember to mark your notches when you are tracing out your fabric to cut. If your pattern is flipped over, you might not see your notch otherwise and forget to mark it.
Notches are used in patterns as a mark to match up seams or for the placement of features like zippers.
Quilting Tools
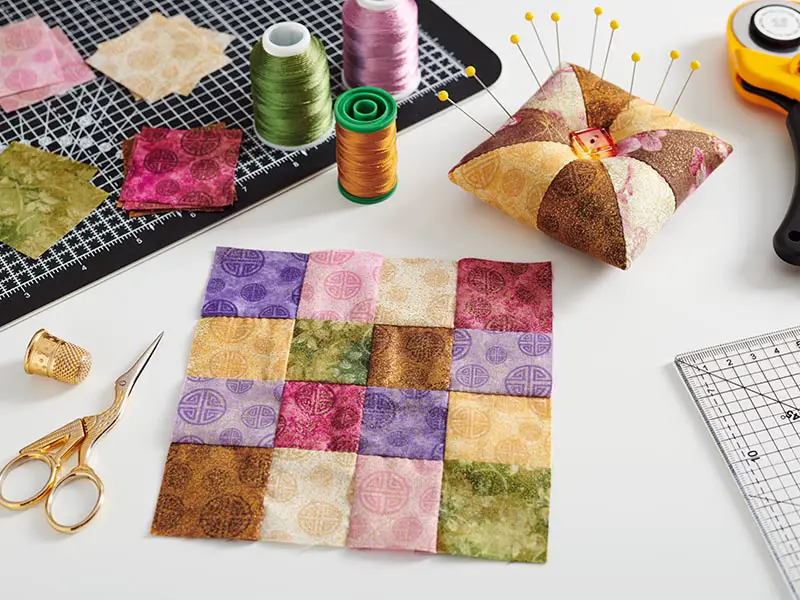
Since quilts are so thick and large, there are some tools that are specific to quilters to make managing quilts easier.
Quilters will benefit from anything that makes cutting fabric shapes easier and more efficient too.
Clips
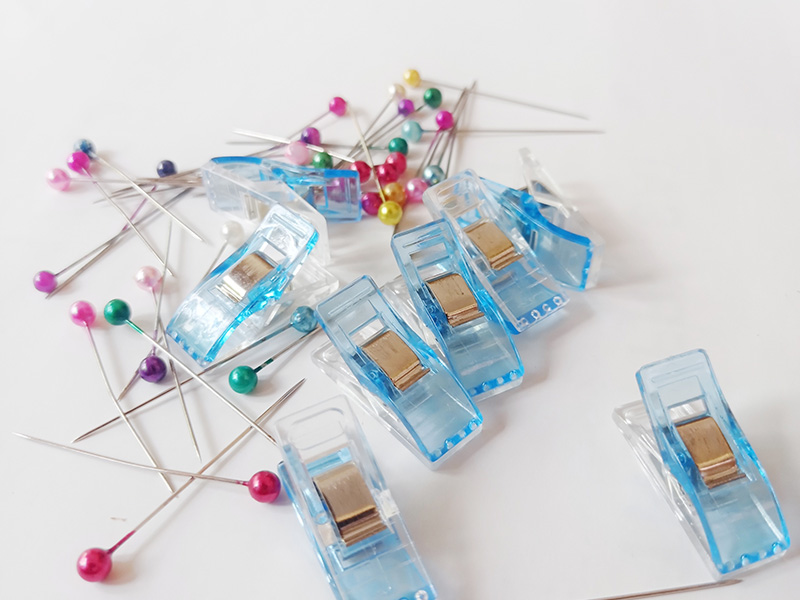
Clips are an alternative to pins. Many quilters will use a combination of pins and clips wile they sew. The advantage of clips is that they are easier to hold thick fabric together.
A disadvantage of clips compared to pins is that they are best used around the edge materials (the seam allowance) and aren’t great for things like pinning fabric together anywhere other than the edge.
Clips are also useful for non-quilting projects where you don’t want to poke a hole in the fabric with pins (for example water-resistant fabrics).
Rotary Cutter With Ruler And Mat
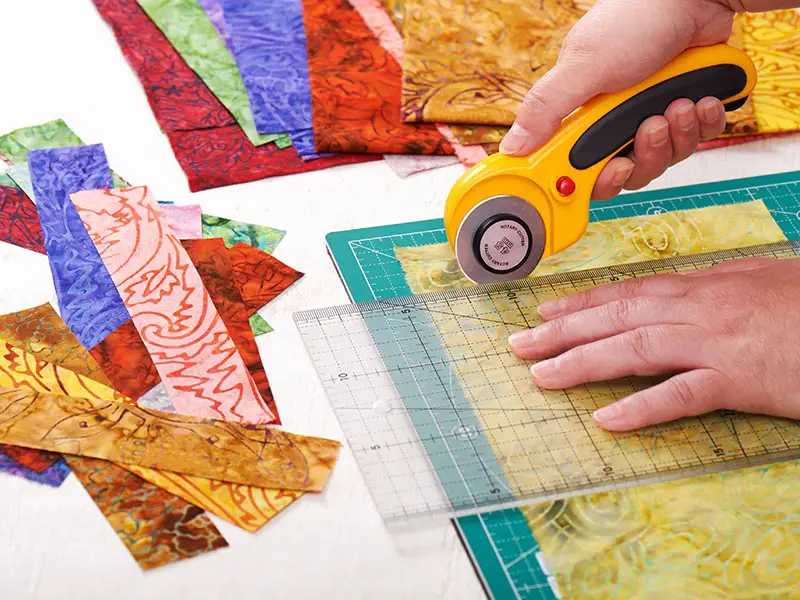
If you are cutting lots of small pieces, a rotary cutter can be a great help! A rotary cutter looks a bit like a pizza cutter – a handle with a round blade. You need a cutting mat underneath your fabric/blade. Cutting mats have grids printed on them to make measuring fabric easy.
For cutting squares and other straight lines, use a grid ruler with your rotary cutter. This helps cut straight lines, and lets you measure and cut in one step, saving you time. Grid rulers come in different dimensions and shapes, including squares and triangles.
Rotary cutters are usually found in the quilting section of fabric stores, but they are useful for things like cutting hems off jeans as well.
Walking foot
A walking foot is a sewing machine attachment is helpful for sewing through thick materials. This presser foot looks like it walks along the top of your project and makes sewing heavy projects easier. In quilting, it is used for topstitching the quilt.
It is also useful for sewing sticky fabrics like vinyl that tend to stick to the bottom of a presser foot. Check the compatibility of your machine with a walking foot before you buy one.
Bias Tape Maker
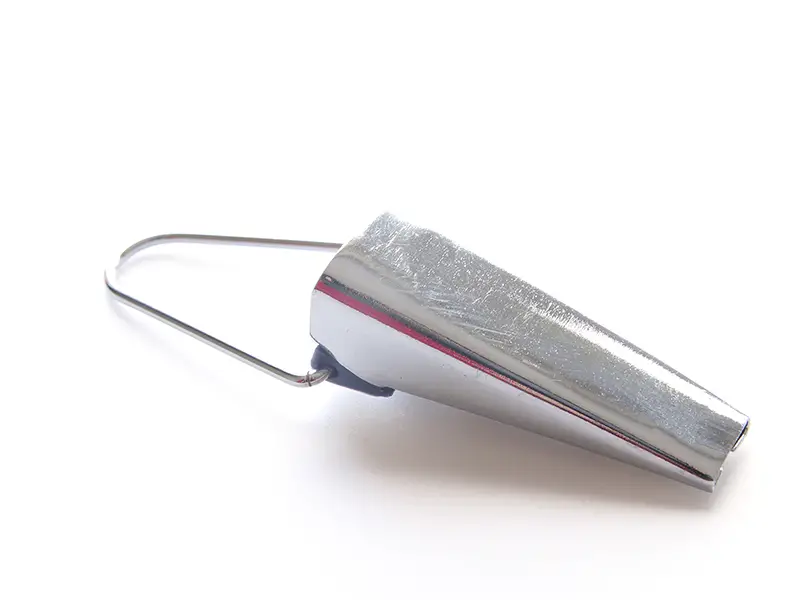
If you want to make your own bias tape, this little tool is helpful. Feed your bias-cut fabric strips through and it folds it while you press the creases of the bias tape. Now you can make bias tape out of fabric to match your project.
Basic Sewing Kit
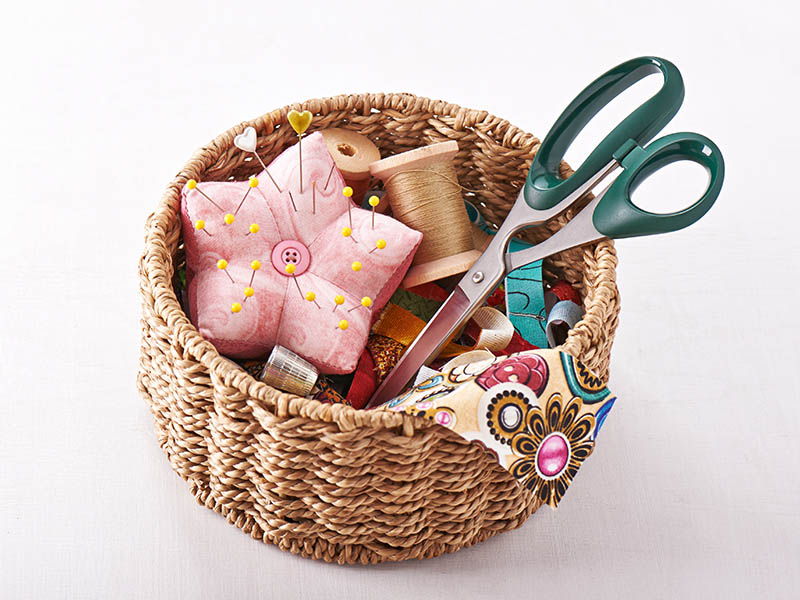
If you are just getting started sewing, you don’t need all of the tools at once. You can start with the basics and add more as your skill progresses and you know more about the types of sewing projects you want to do. A sewing essentials kit would be:
- Fabric scissors
- Pins
- Tape measure (60”)
- Tailor’s chalk
- Thread snips
- Hand needles
- Needle case
- Thimble
- Ruler
- Iron
- Safety pins
- Needle threader if you find that you need it
- Sewing machine
A rotary cutter with a ruler and mat is also very useful for different types of sewing projects. But, if you have scissors, chalk, and a ruler then you can manage without. It does however save time to measure and cut in one step.
What Sewing Tools Are The Best Choice For You?
Not every person who sews needs every single item on this list, but I hope you found it useful to learn about what different types of sewing tools are available to you.
Some of these tools are available at different price points – sewing scissors in particular. With sewing tools you do typically get what you pay for – more expensive tools typically last for a long time and might be easier to handle than lower-end ones.
Pins and thread can vary quite a lot in quality as well. If you are just starting out you don’t need the most expensive sewing tools on the market, but you may wish to upgrade once you get serious about sewing.
What are your favorite sewing tools? Or are there any tools that you want to try but have never used? Let us know in the comments below.
 The 32 Best Sewing Stitches to Use