Every girl wants a faux fur vest in her closet. Thus many have pondered about how to make one on their own. Also, compared to buying one, sewing a faux fur vest cost less money.
But that comes with many problems: What materials are needed? How many steps does it take to make one? Are there any additional issues I should pay attention to? Well, you will find any answer you need in this article, especially to this question.
How To Make A Faux Fur Vest?
Basically, there are 7 steps you need to follow to complete a faux fur vest
- Make pattern pieces
- Cut out the lining pieces
- Identify the fur’s nap
- Cut the faux fur
- Sew the vest’s sides
- Sew the lining pieces to the fur
- Sew the shoulders and the bottom opening
Apart from these steps, I will show you some extra tips to make the process easier. So, don’t hesitate any longer! Let’s start now!

Faux Fur Vest – A Trendy Coat For Winter
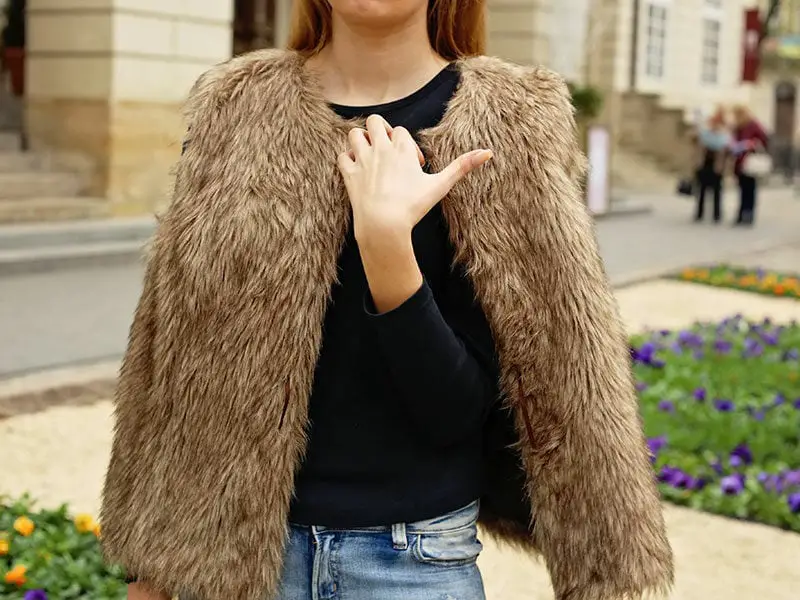
Over the years, as more and more people care about preserving wild animals, the popularity of faux fur vests, also known as fake fur vests, rises significantly. Today, faux fur vests have become an indispensable item in every girl’s closet, especially in winter. (1)
Not only keeps you warm, but a faux fur vest also provides you a comfy yet glamorous appearance. At the same time, you can add it with any fashion style to your preference. You can wear a faux fur vest with jeans and sneakers for usual hangouts with friends.
You can combine it with a mini skirt or sweater dress and some sparkling jewelry for more luxurious events. A pencil skirt and a tailored top will change the faux fur vests into office suits.
There are even short faux fur vests and long ones for you to change depending on the weather. A long vest tends to be warmer than the short one. You can even wear a faux fur vest outside your coat or cardigan for extra warmth. (2)

Before you wonder whether faux fur vests are budget-friendly, let me assure you that you don’t have to think of their price anymore after reading this article. It’s because right now, I will show you how to make a faux fur vest from scratch.
Necessary Materials For A Faux Fur Vest
Even though I will guide you to make a faux fur vest from scratch, don’t freak out because you don’t have to make fake fur all by yourself. Let’s look through all the necessary materials you need to buy before getting to sewing and stitching.
- Faux fur: 1 to 1.5 yard
- Fabric for lining: 1 to 1.5 yard
- Matching thread
- Sewing machine
- Scissors or a razor
- Pins
There is no requirement for these materials. You can choose anything you want, including the lining fabric. But most of the time, people will select cotton since it’s affordable and easy to buy. You can use other materials as well, such as satin.
7 Steps To Make A Faux Fur Vest
It takes about 7 steps to make a chic faux fur vest from these simple materials. Keep on reading to find out what needs to be done in each step.
Step 1: Make Pattern Pieces
The fastest way for this step is to print a ready-made pattern piece online. However, you can handle it yourself by using a shirt or a sleeveless vest. Make sure this piece of clothing is quite loose but not too baggy. Or else, your faux fur vest will be too oversized.
First, fold your shirt in half vertically and press it flat onto the lining fabric. Then use chalk to trace around the edge of the shirt to create a pattern for the front piece. Make the pattern ¼ inch wider than the shirt for a seam allowance.
Then unfold the shirt to make the back piece for your faux fur vest. You should also consider the length of the furs as they will increase your vest’s size. So after sewing, your faux fur vest may be longer than the pattern pieces.
Step 2: Cut Out The Pieces
Remember your vest needs two front pieces and one back piece. You can arrange the shape of the pattern pieces to suit your taste. For example, make the neckline lower or two armholes more curved.
After cutting all the essential pieces, compare them to each other so that they are all at the same size and fix them if necessary.
Step 3: Identify The Fur’s Nap
Before getting to the fur, you need to check the fur’s nap, or also known as the direction that the fur lays. If you brush it in the right direction, the fur will appear nice and flat. However, in the wrong order, the fur can look messier and darker or lighter in some cases.
That’s why you need to identify the fur’s nap before cutting it. Or else your faux fur vest will end up with pieces in different directions. To prevent this, run your hand up and down the fur to determine the right direction.
Step 4: Cut The Faux Fur
Smooth the fur and place it on the cutting table. Make sure to keep the fur direction downward and the wrong side facing up. Place the lining pieces on top of the faux fur, but this time, with the right side facing up. Pin them down and trace along their edges to get the shape.
Then, cut the faux fur according to the lining pieces’ shape. Remember to cut through only the base layer of the fur. Or else your faux fur will look like it has just experienced a bad haircut, ruining the appearance of your vest.
Of course, you can’t avoid all the fur but just minimize the damage as much as possible. After cutting, you will see the fur can be pulled apart effortlessly. Also, you can make your faux fur pieces ½ inch larger than lining ones to make them easier to sew.
Step 5: Sew The Vest’s Sides
Put two vest’s front pieces on top of the back piece with their right side facing each other. Do the same with lining pieces. Then, sew the sides of both the fur and the lining pieces with a ¼ inch seam allowance.
After that, pin the shoulder closed and try them on to make any needed arrangements, for example, shorten them or make the neckline wider, etc. However, if you change the fur pieces, you need to fix the lining ones and vice versa.
Step 6: Sew The Lining Pieces To The Fur
After fixing any mistakes, open up the fur and lining pieces. Then, place them on top of each other with the right sides together. Make sure all the edges are matched and pin them together. Remember to keep all fur inside and away from the seam.
Next, sew all the way around but leave the shoulders open. Also, make a 3-or-4-inch opening at the bottom for turning.
Step 7: Sew The Shoulders And The Bottom Opening
Turn the vest right side out through the bottom hole. Then, flatten it and sew the bottom opening closed. Next, flatten the shoulder holes and sew them too with an ¼ inch seam allowance.
This video will show you how to make a DIY faux fur vest for suggestions:
6 Tips When Making A Faux Fur Vest
Of course, reality is always different from theory. You don’t know what hardships you may come across until you start making it. However, I have some tips stored for you to make the procedure less demanding.
Pay Attention To The Nap
Like I’ve said above, every fur has its nap. And you need to identify it to make sure your faux fur vest stays beautiful. After determining, you can mark the direction down on the wrong side of the fur so that you won’t get it wrong when cutting the pattern afterward.

Only Cut The Back Layer Of The Fur
You might be tempted to cut through the fur to fasten the process. But trust me, making that only messes with your fur’s quality. And you can’t hide the damage.
This leads to the most appropriate choice to cut the faux fur: A sharp blade scissor. Just make small snips to avoid the furs. It will take lots of time and patience, but the result you get will be worth all of it.
Avoid rotary cutters at all costs, as they will destroy the edge of your fabric. Also, it’s easier to cut against the fur direction than along with it.
Pin Two Ends Of The Faux Fur Before Sewing
Since it’s made with a knit backing, faux fur can become quite stretchy. That’s why you need to pin both ends of the fake fur with the lining fabric before sewing to protect the fabric’s quality. Remember to tuck all the fur inside when pinning.
If you’re afraid the pins will ruin the fabric’s texture, you can use cold tape instead.
Use Longer Stitches
As faux fur is thicker than other regular fabrics, I recommend using a longer stitch when sewing it. Make it about 3.5 inches in length. Both straight stitch and zig-zag stitch can work on this material. Just keep in mind its length.
With larger stitches, it will be easier to pull out the fur stuck in the seam.
Use A Sewing Machine
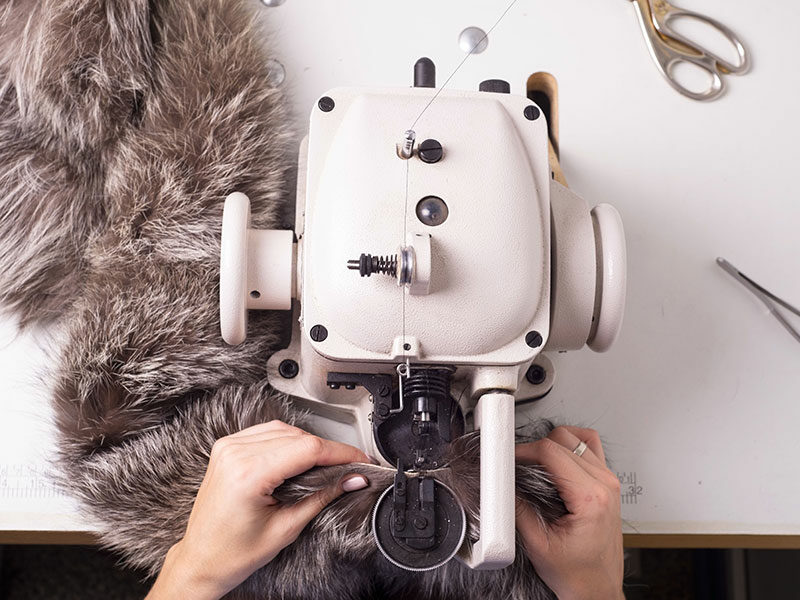
There’s nothing wrong with hand sewing all the way, but a sewing machine will ensure stronger and more consistent stitches. Yet, for the best result, before pulling out your sewing machine, let’s baste all of the seams by hand.
When sewing, if you use a lighter fabric to go with faux fur, place the faux fur on top. They will go through the machine easier with minor shifting.

Spray Some Water On Your Hands
Faux fur causes static electricity, making working with it much more difficult. Spritzing some water on your hand or the fur may solve this trouble.
Frequently Asked Questions About Faux Fur Vests
With all the above information, I’m sure you have grasped how to make a stylish faux fur vest for yourself. However, just keep on reading as I will reveal the answers to some of the most common questions regarding faux fur vests and how to make one.
Further Information
Sometimes, your faux fur vest gets dirty at some spots, and you don’t have time to wash it whole. At those times, soak a cloth in warm water and pour a drop of soft detergent on this cloth. Ruffle the fabric and then scrub gently on the dirty spots until they are back to normal.
Also, since humidity can cause faux fur to be curly, be careful when you wear this kind of vest on snowy or rainy days.
After reading this article, I hope you can now make a faux fur vest yourself with confidence. Comment below your unanswered troubles or any additional information. And don’t forget to share it with your friends and relatives!

References
- En.wikipedia.org. 2021. Fake fur – Wikipedia.
- Moye, S., 2021. Fashion: Wearing Faux Fur.
- Wikihow.com. 2021. How to Store a Fur Coat: 10 Steps (with Pictures) – wikiHow.

 How to Cut Fabric Straight